
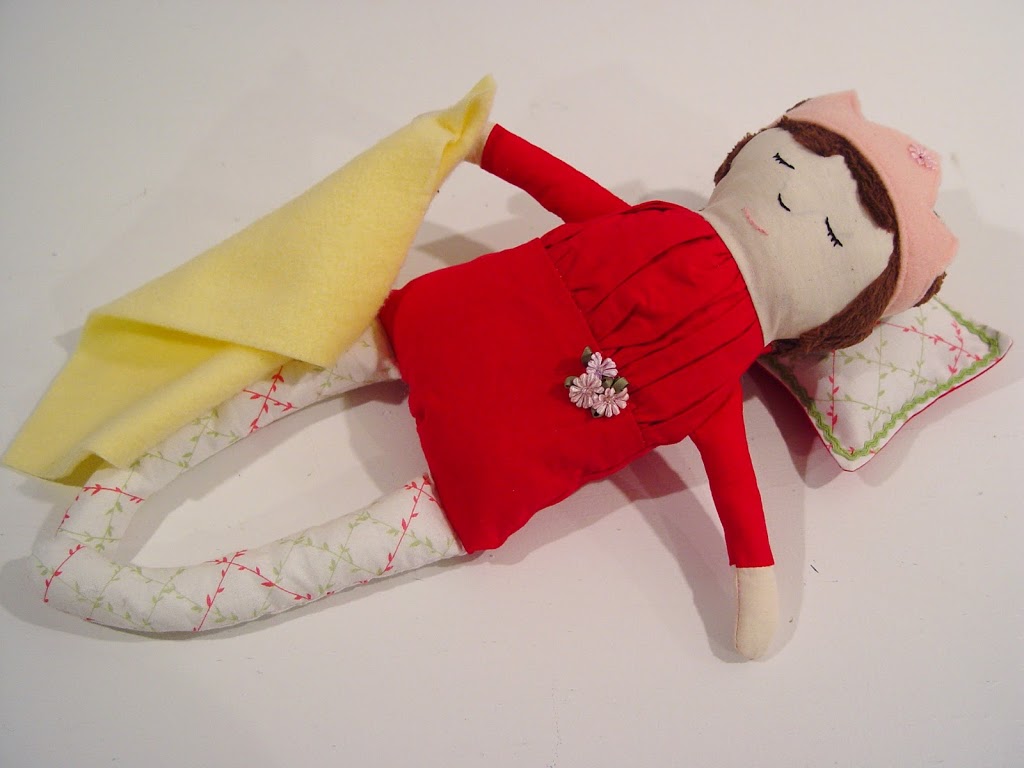
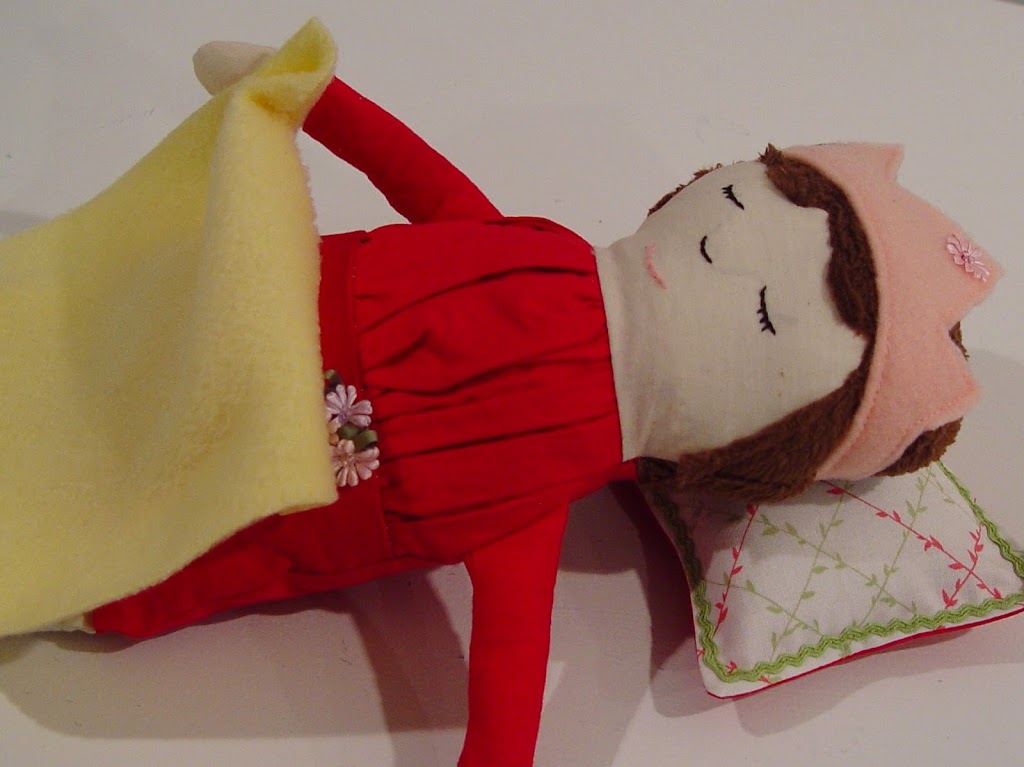
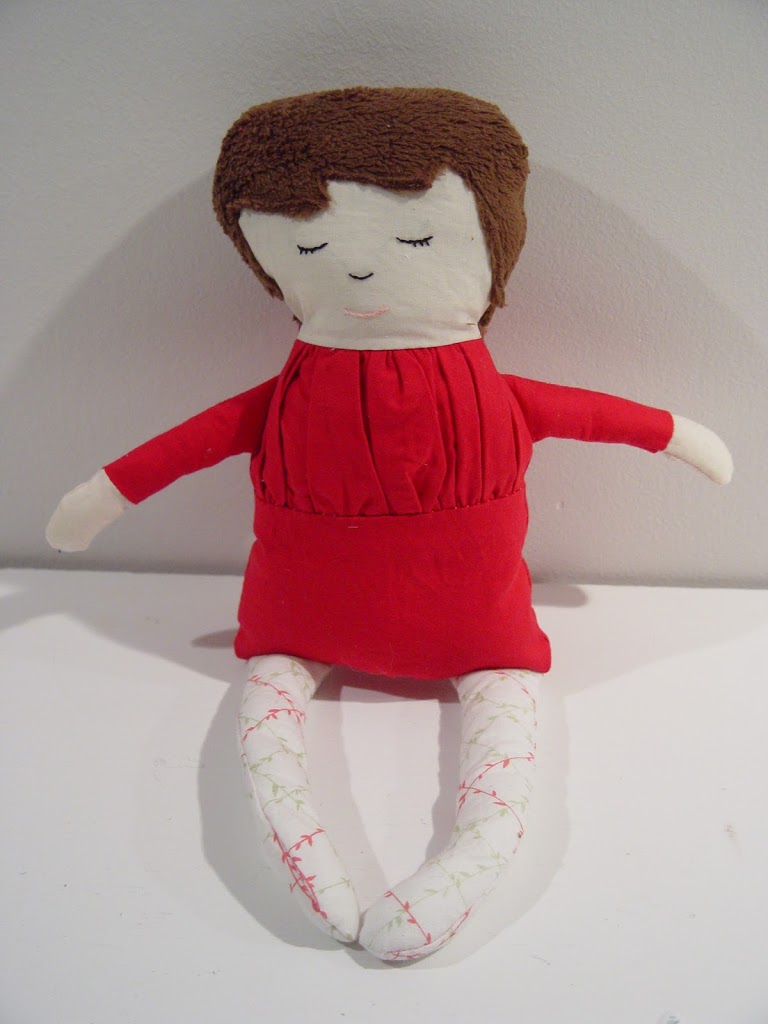
This sleeping beauty doll is really easy to make. It’s a modified Black Apple doll. This was actually my first Black Apple doll and she turned into the perfect sleeping beauty.
So here are the basic changes I made: First, I changed the top body piece to have a ruffled bodice, I gave her fleece hair (instead of felt), then I added a pillow and blanket in her hand (and don’t forget the sleepy eyes).
Ok, so here’s how to make it.
You can get the Black Apple Doll pattern and basic instructions here. As I mentioned above, I used fleece for the hair instead of felt. I thought that the fleece would withstand the washing machine a bit better (because I love any toy that can go into the washing machine!) and the fleece won’t fray.
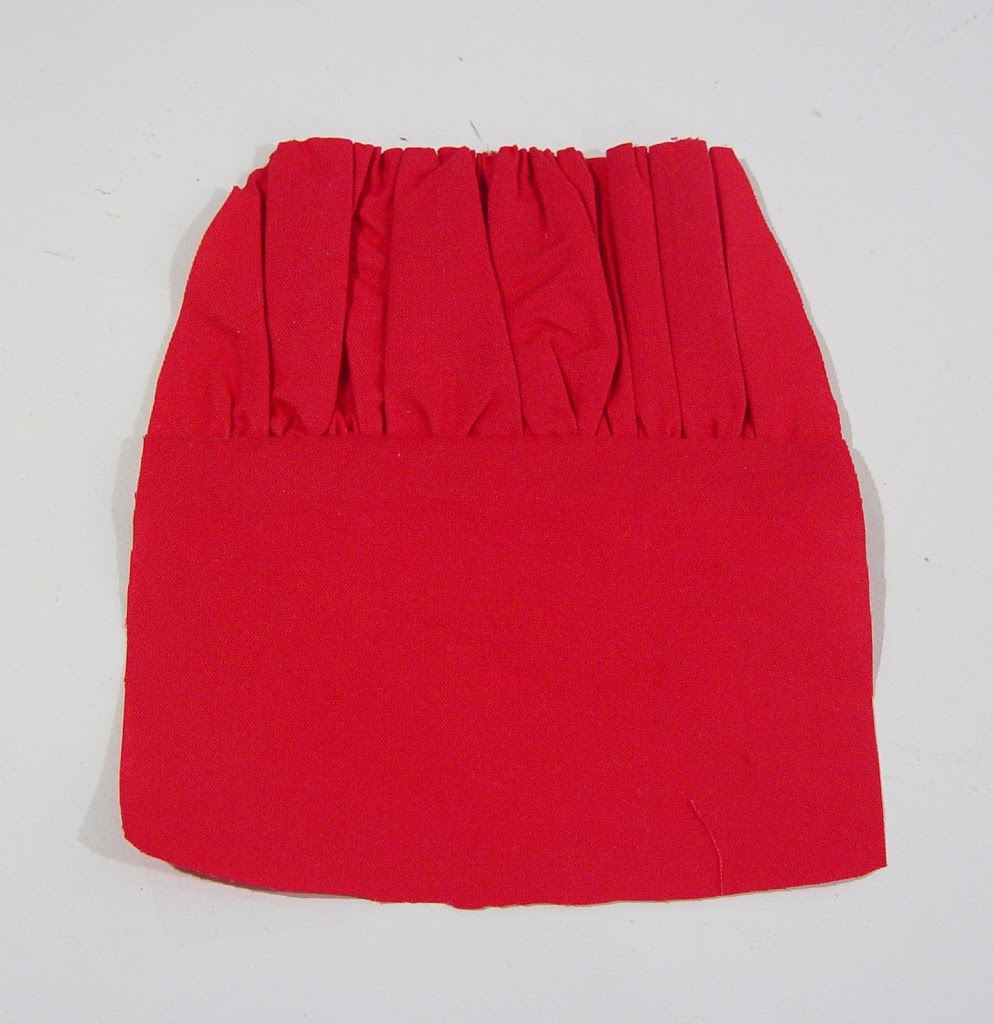
To make a ruffled split bodice:
I started with a piece of fabric roughly 20″ long by 5″ high. (It doesn’t matter if you have too much here – you’ll see). Set your sewing machine stitch length to the longest and sew two sets of parallel lines along the length of your fabric fairly close together, roughly 1/4″ from the edge. Don’t back stitch at the beginning or end of sewing.
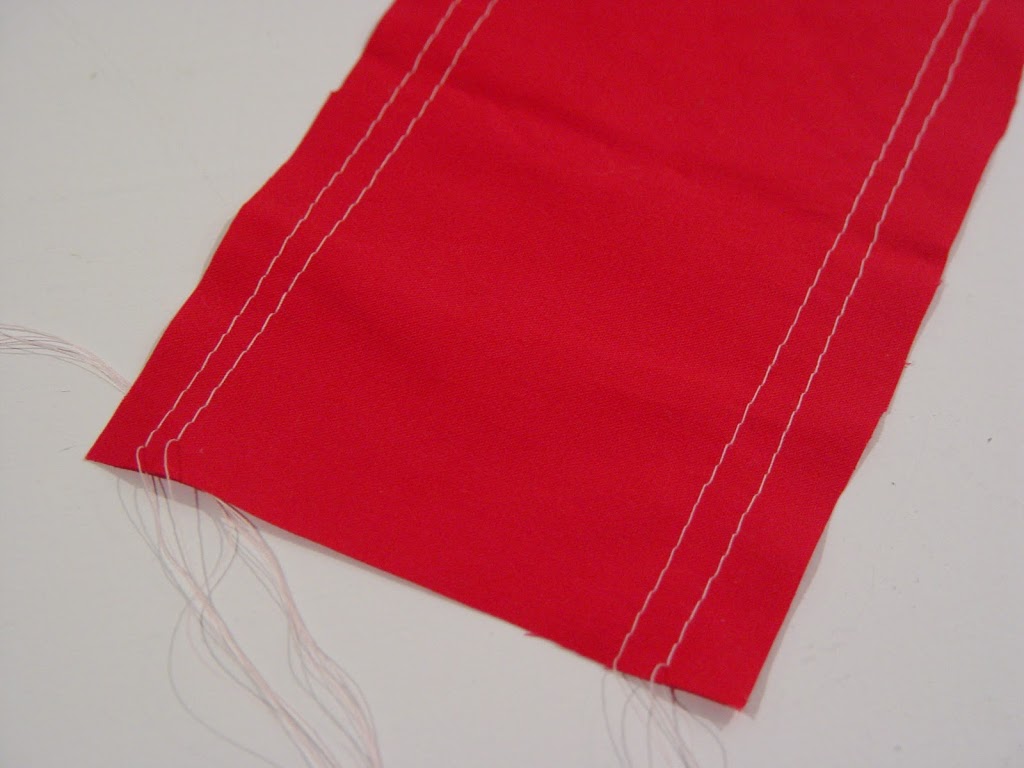
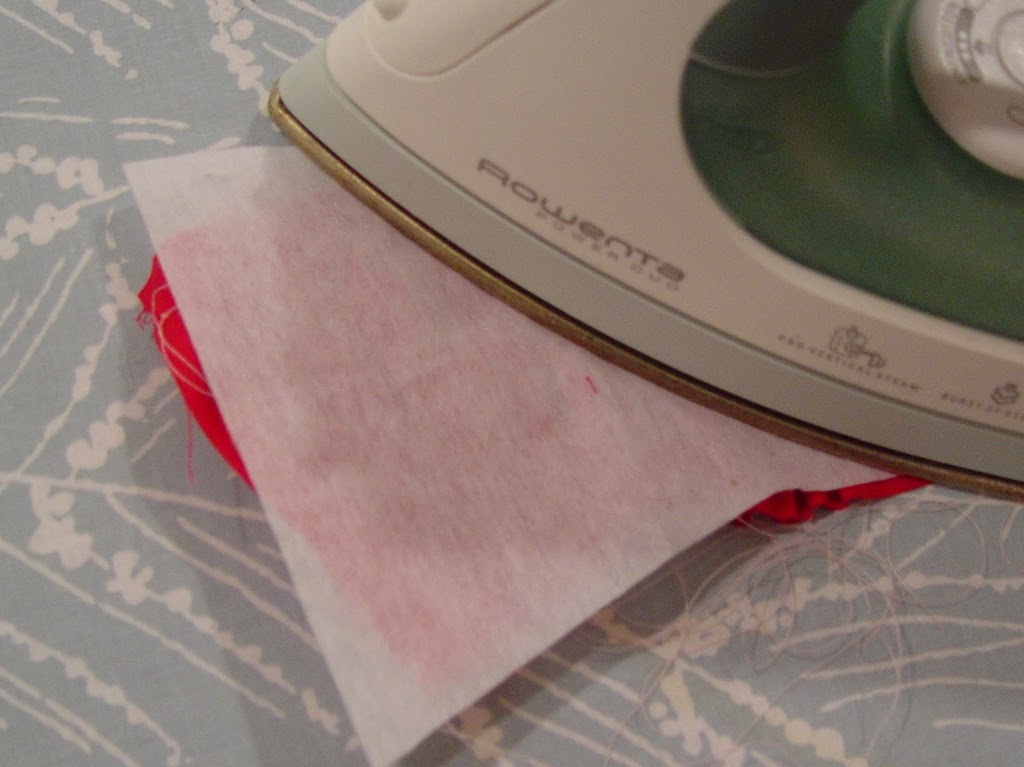
Pull the threads on the underside to gather the fabric. It can be a tight gather like mine, or a bit looser – whatever you like. Once you’ve gotten it the way you like it, iron it a bit.

Then turn it over (right side down), and iron a piece of light fusible interfacing onto the back side. Trim any wayward threads.
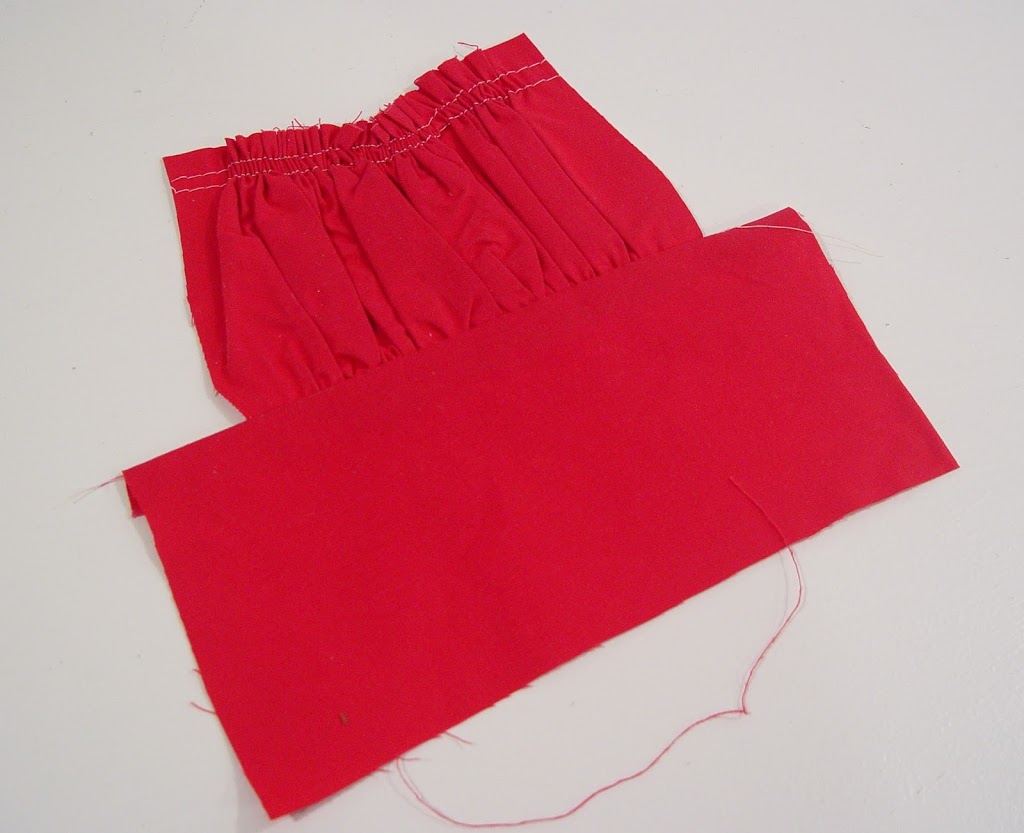
Take another piece of fabric (which will become the bottom half of the bodice) and put it on top of the ruffled piece (right sides together) matching up one of the straight edges. Sew the two pieces together making sure your gathering stitches are hidden.
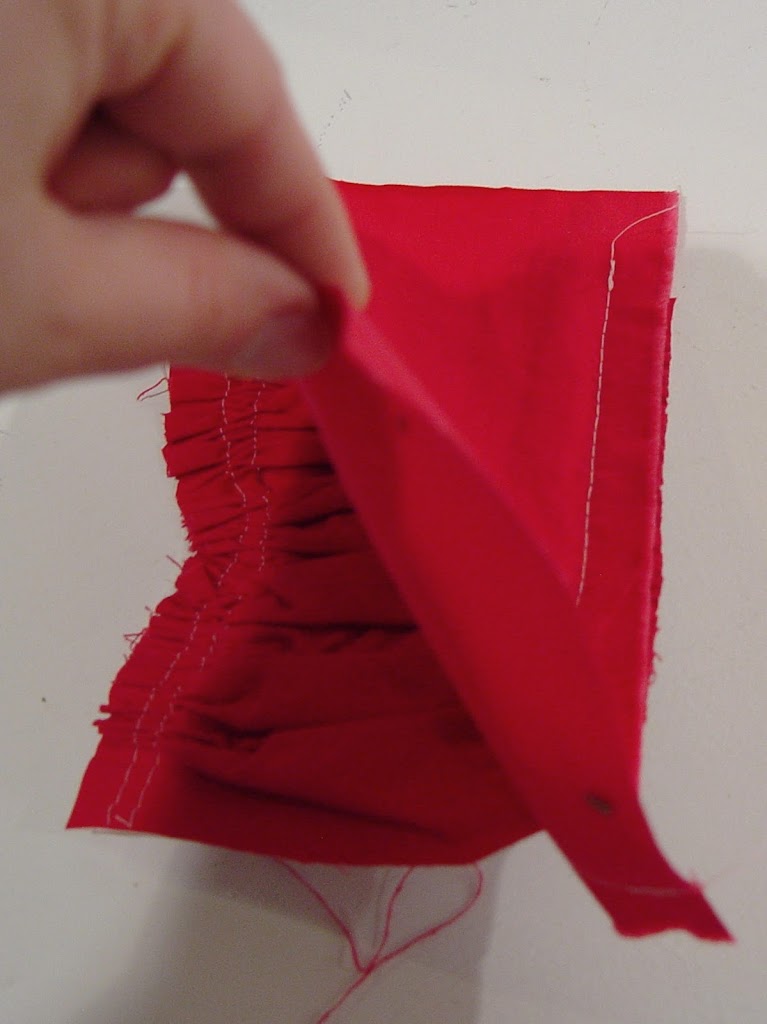
Open up and iron flat.
Place your body pattern piece on top and cut it out.
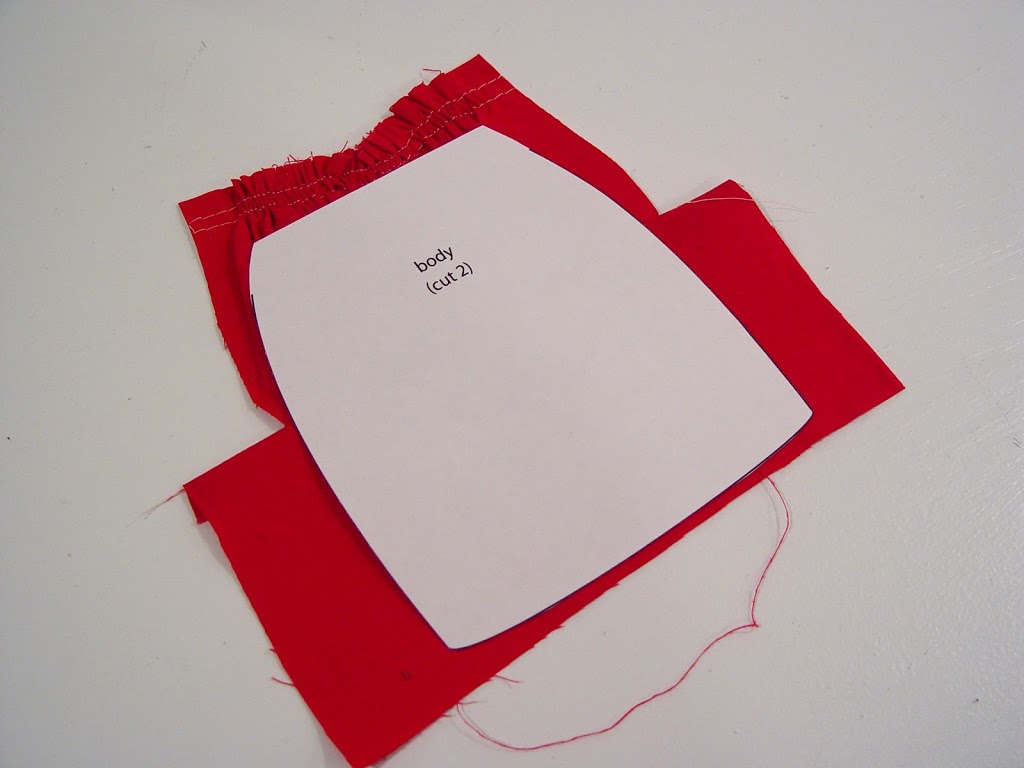
Use this piece when assembling the doll.
Other Notes:
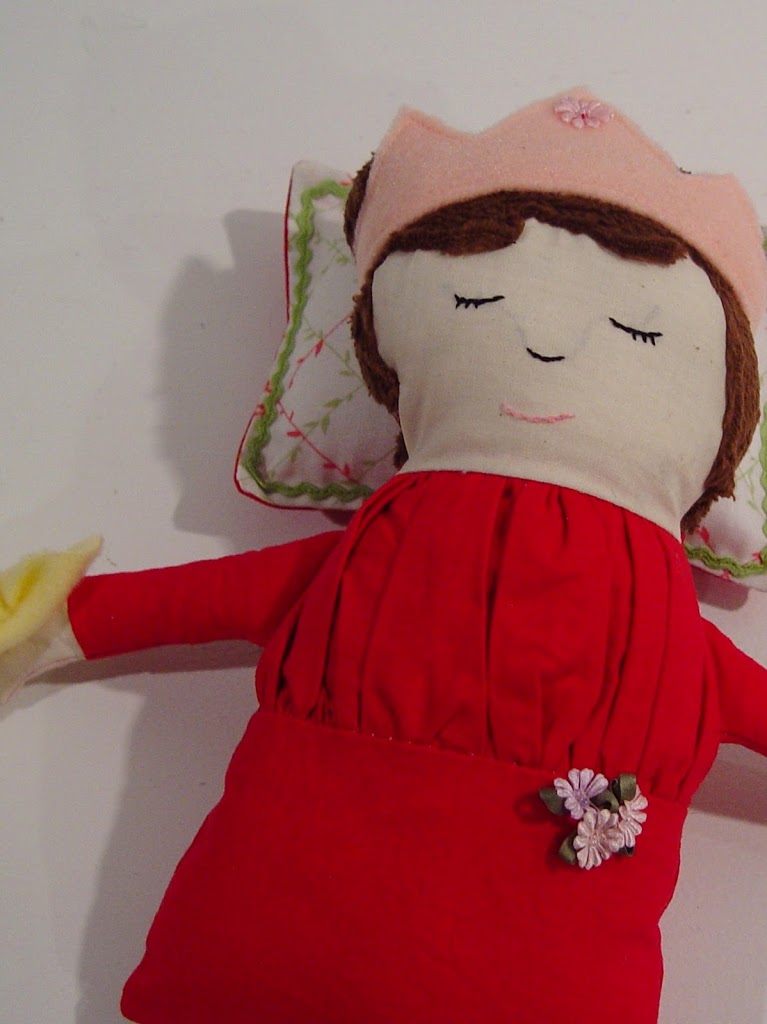
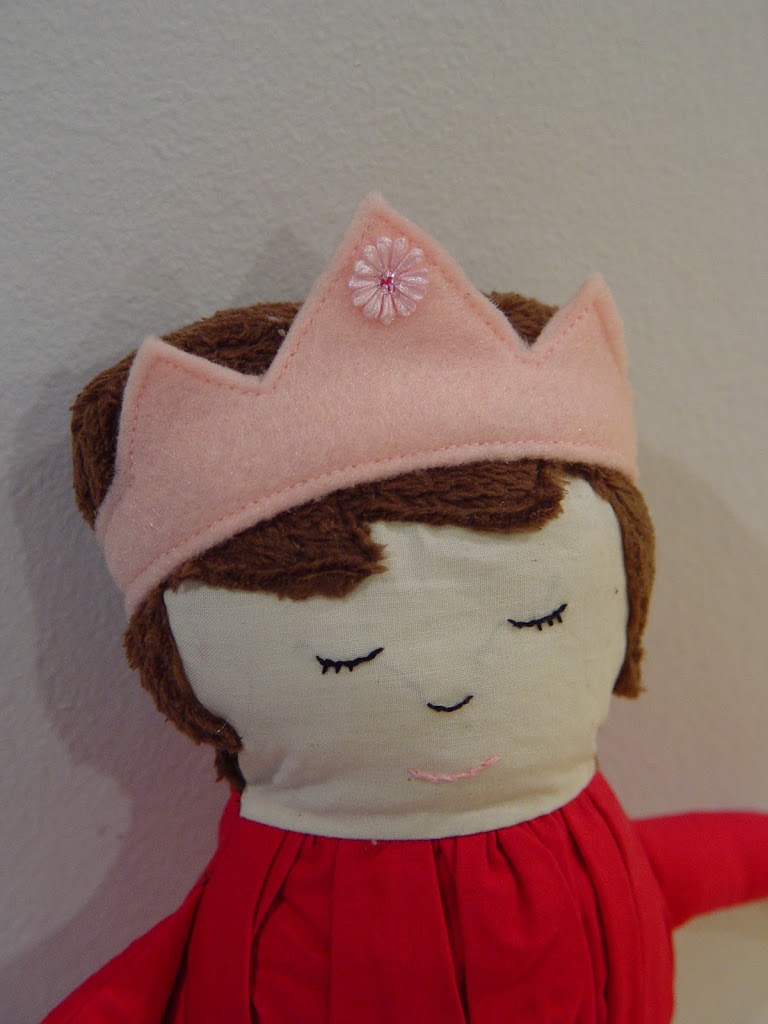
I added “sleeves” by cutting the arms from two pieces of fabric sewn together. Dress color on top, muslin on the bottom for hands. I made her eyes closed (since she is sleeping). I also chose to embroider the face instead of drawing it.
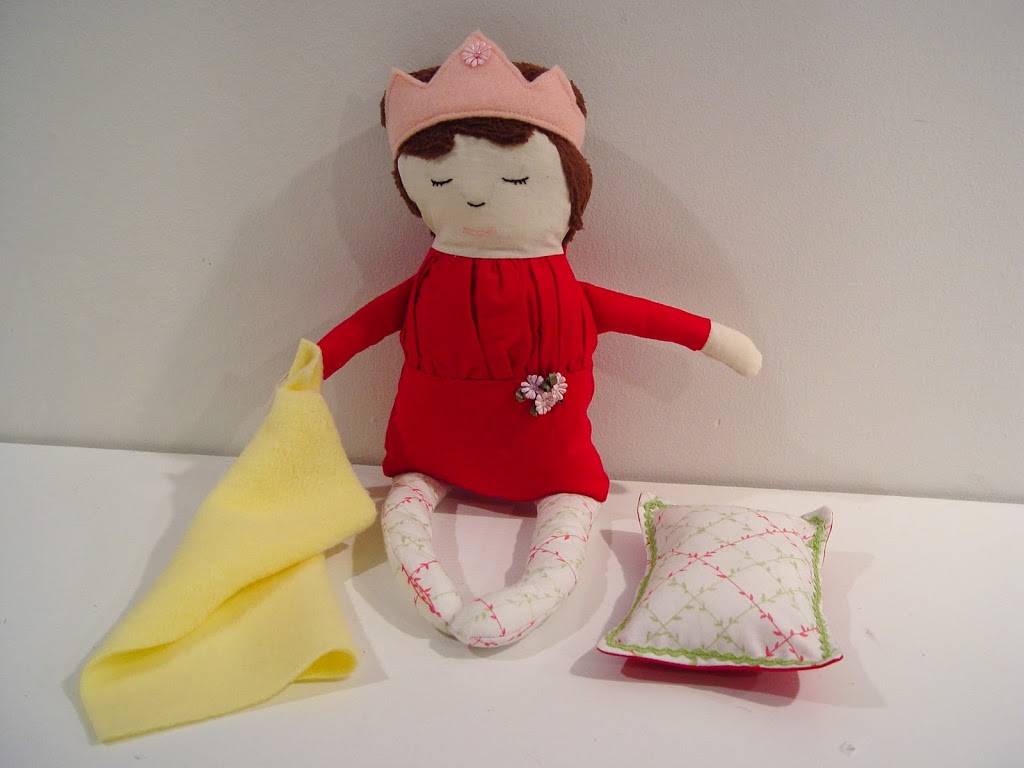
So here’s the finished basic doll:
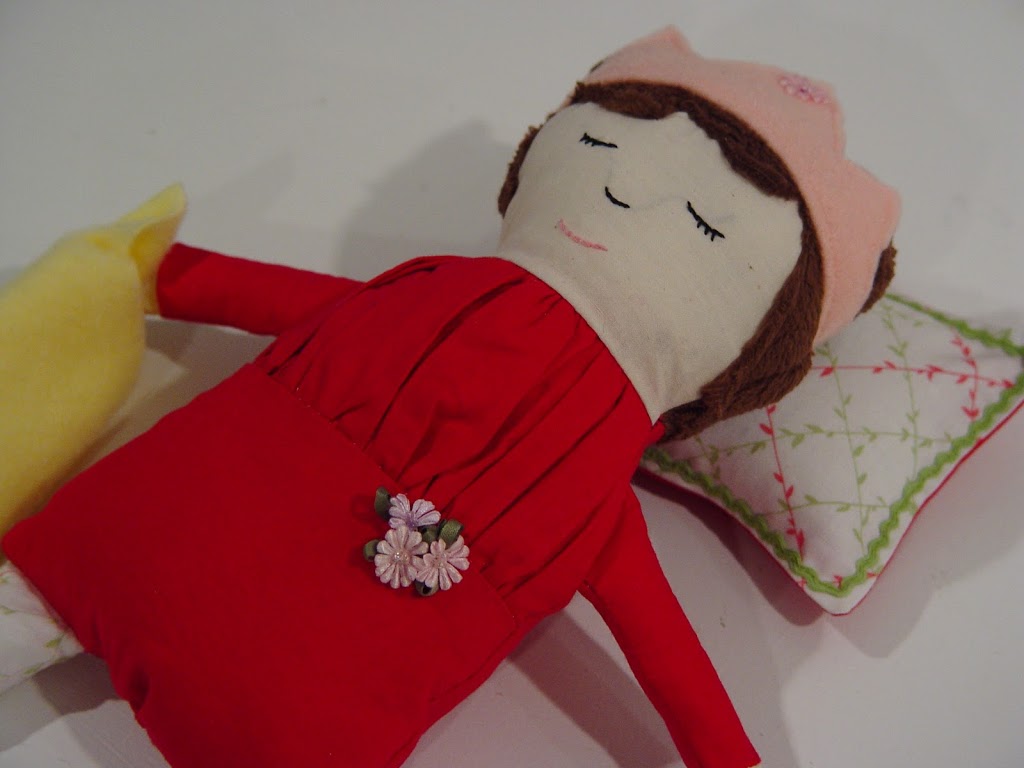
To make the blanket: Cut a piece of fleece 8″ by 6″ and sew it into her hand.
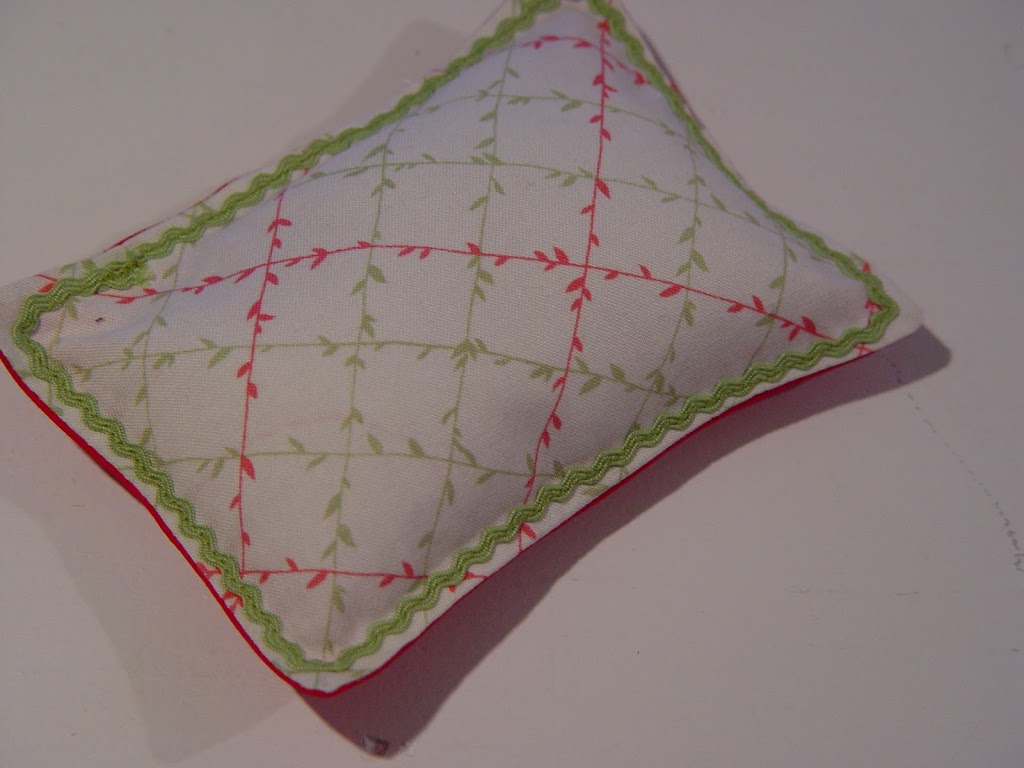
To make the pillow: Cut two pieces of 6″ by 4.5″ fabric.
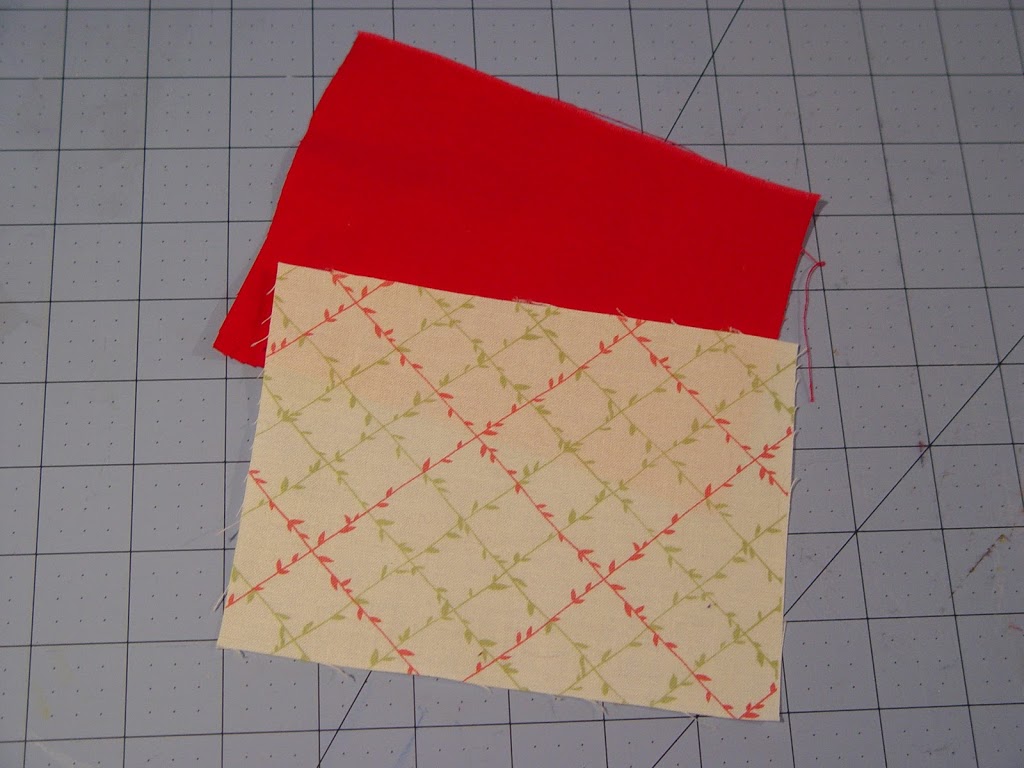
Placing them right sides together, sew around the edge of your fabric leaving an opening for turning, using a 1/8″ seam allowance. Trim excess fabric from the corners.
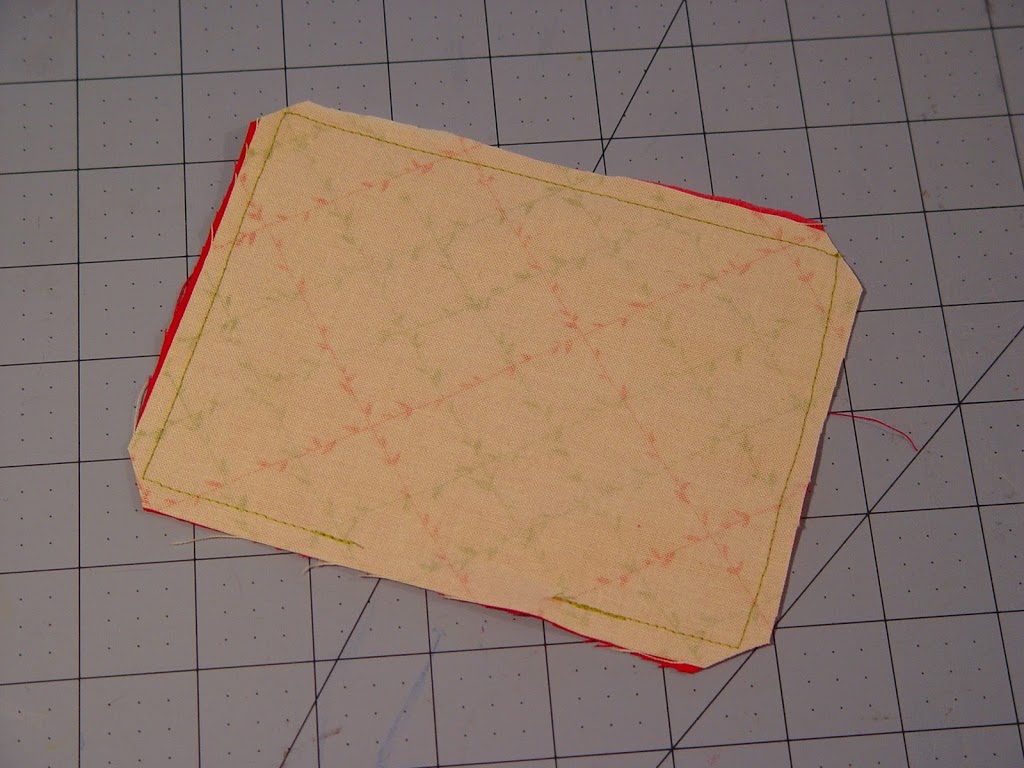
Turn right side out and press.
Lightly fill with fiberfill. Topstitch around the edge of the pillow 1/8″ from the edge. I added the baby ric rac here in the topstitching, making sure to sew right down the center of the ric rac.
To make the tiara: Cut a piece of felt 6″ by 4″. Fold it in half so you now have 6″ by 2″. Fold it in half again (now 3″ by 2″) and cut half of a tiara like shape as seen below.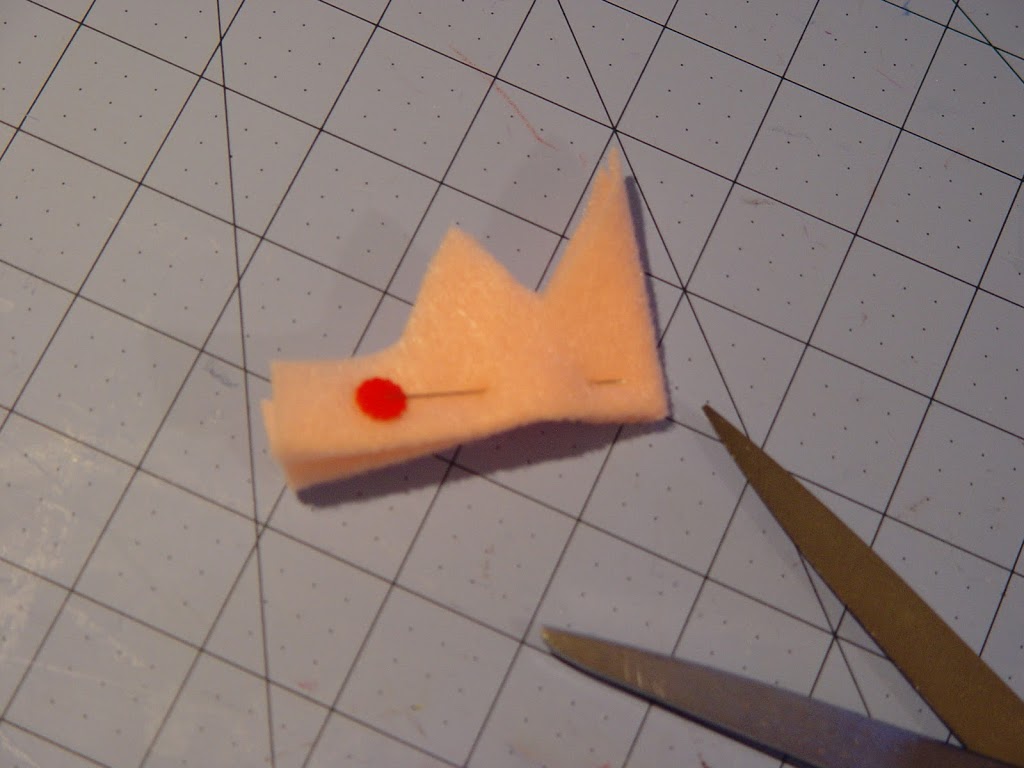
Unfold it once and pin in place.
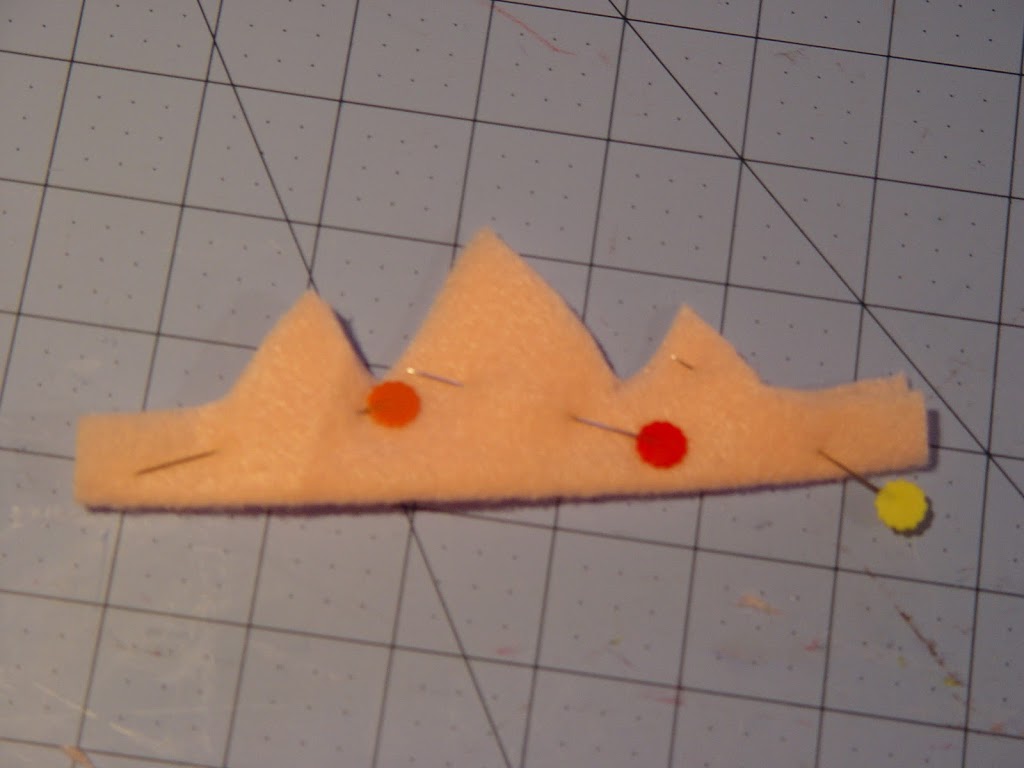
Cut out a 3″ piece of elastic and tuck one end in the side of the tiara about 1/2″ in or so.
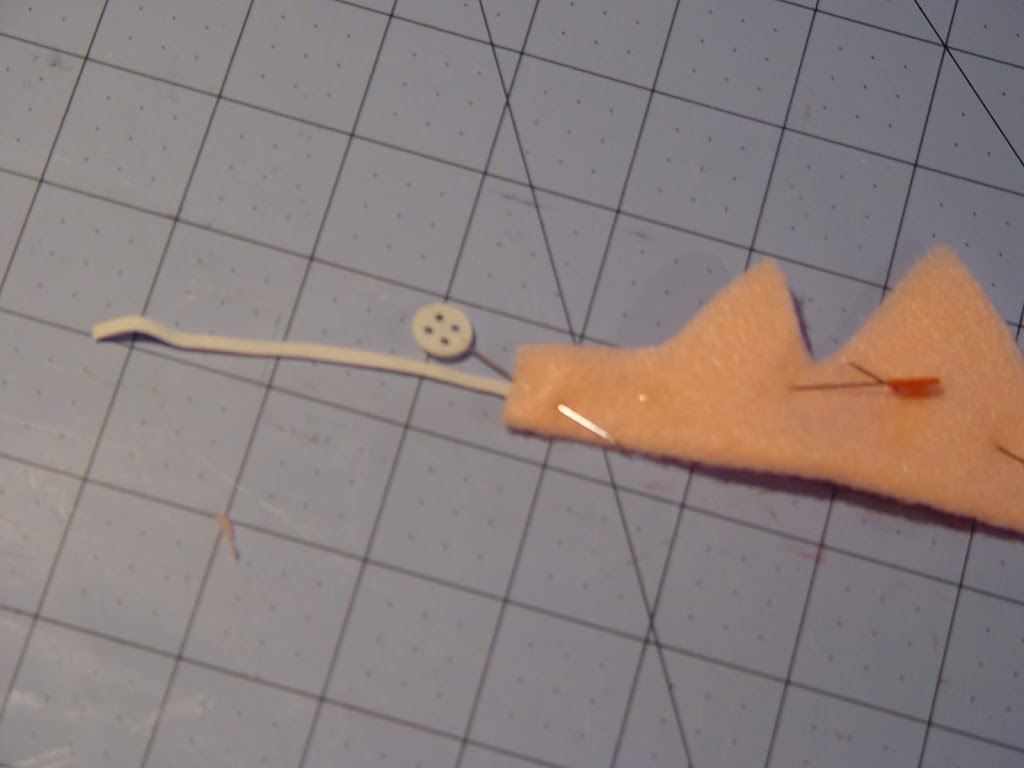
Begin top stitching around the edge of the tiara, catching the elastic and securing it in place. Before you get to the other side of the tiara, loop the elastic around, tucking it in the other side to create a loop. Make sure to top stitch along the bottom of the tiara as well.
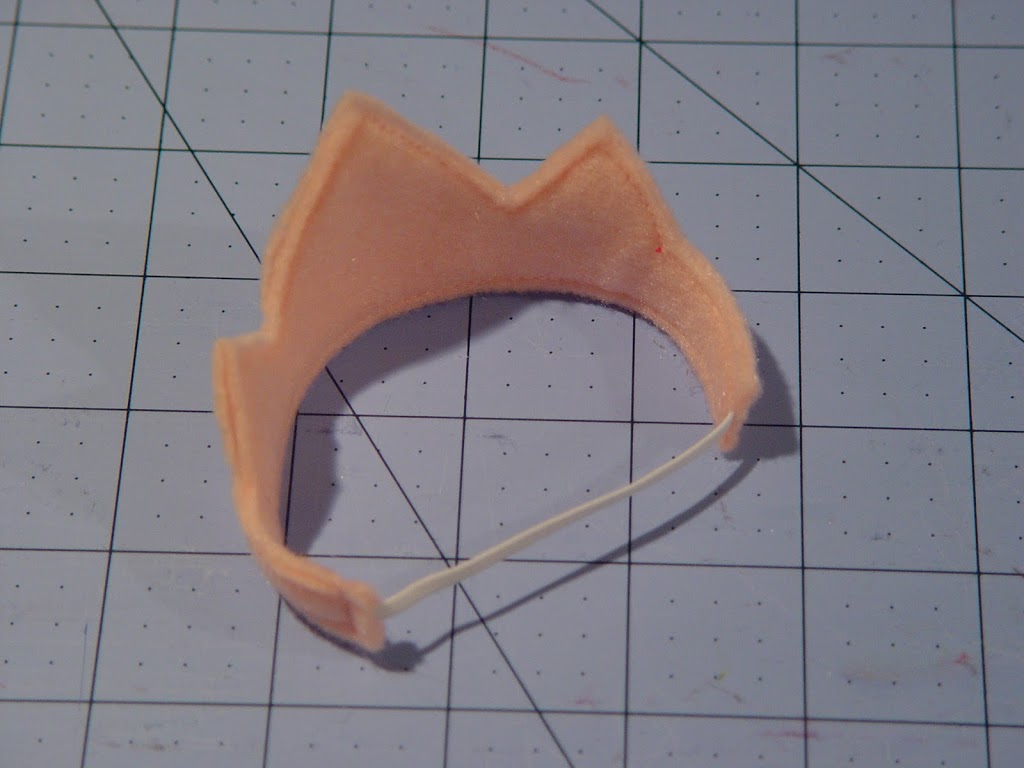
You can add a little flower here if you like (or some rhinestones) and crown your princess.
Here’s the final doll: I hope your little princess enjoys her!

So Cute, I love it !
Adorable, super linda!!!!!!
Un abrazo desde Lima-Peru
Wanted you to know I posted a link to this tutorial today.
Nancy Ward
PaperFriendly
http://www.nancywardcrafts.com