
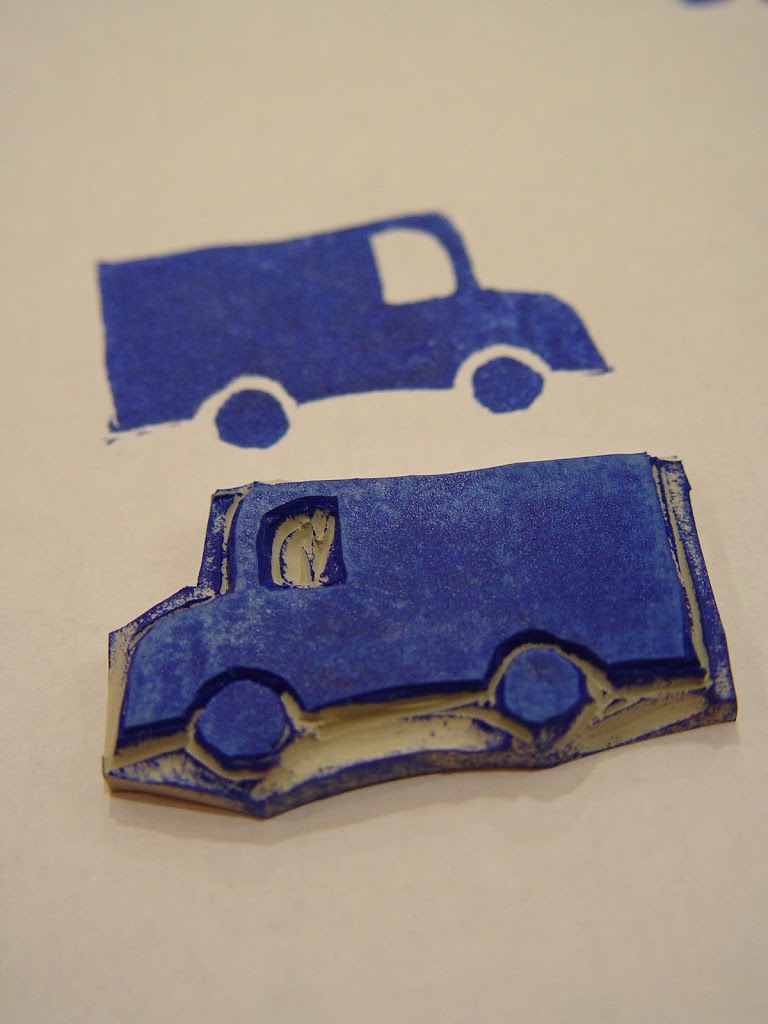
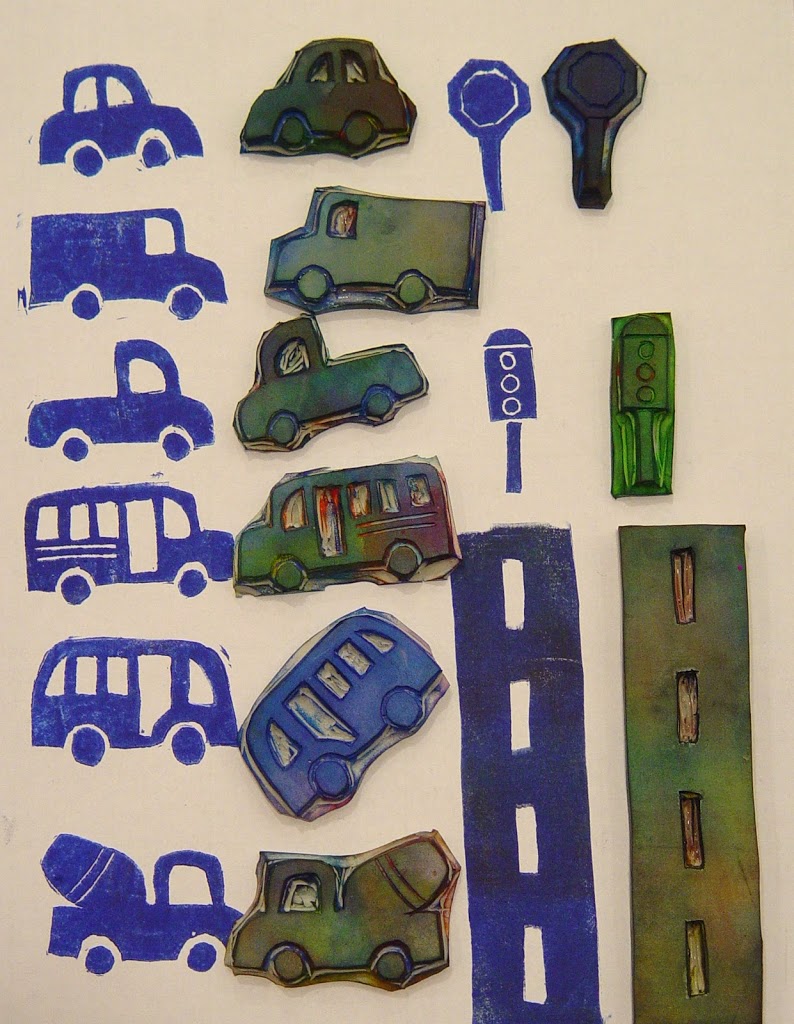
Making your own stamps is very easy and quite fun. It’s so easy to carve out a beautiful design and get lost in the fun. My son loves art and he always loves it when I can make him something he can use to create his own work of art. So I thought I’d make him some car and truck stamps.

They’re so simple.
Here’s what you’ll need:
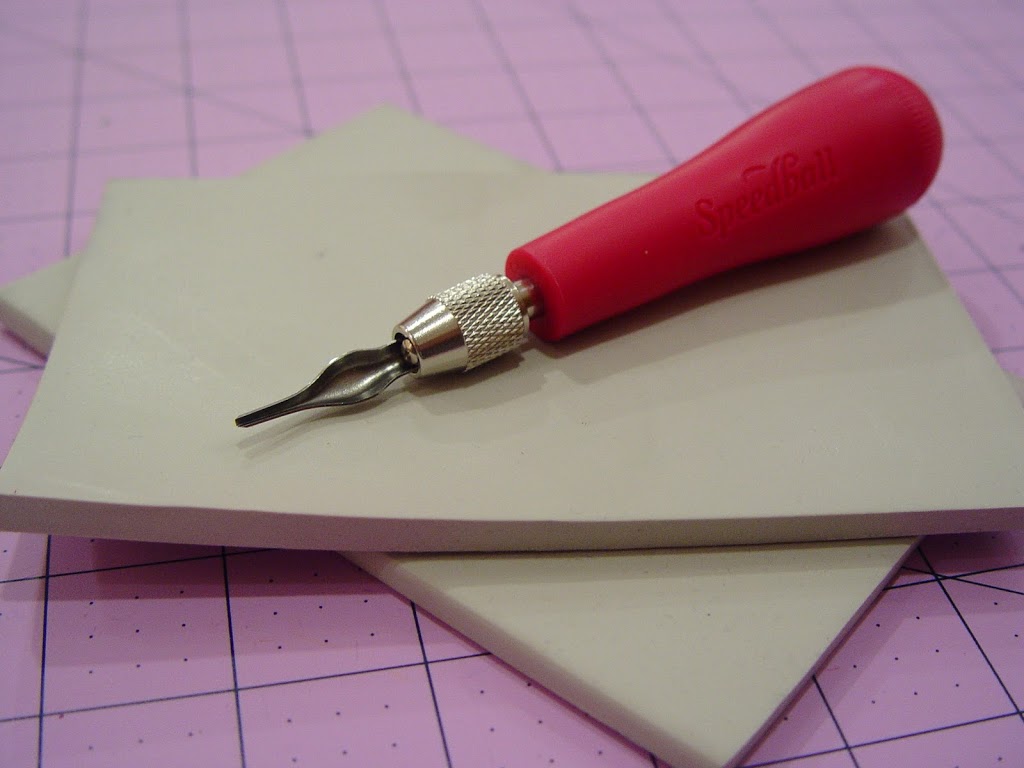
Carving blocks (Speedball Speedy Carve Blocks are a great choice, you can find them here or here.)
A linolium cutter with different tips (#1,#2, #5) — I got mine from this great starter kit.
A utility knife or X-Acto knife
Pencil
Pen
Ink pad for stamping
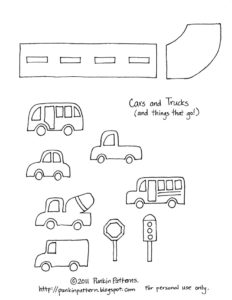
Car Template, which you can download here.
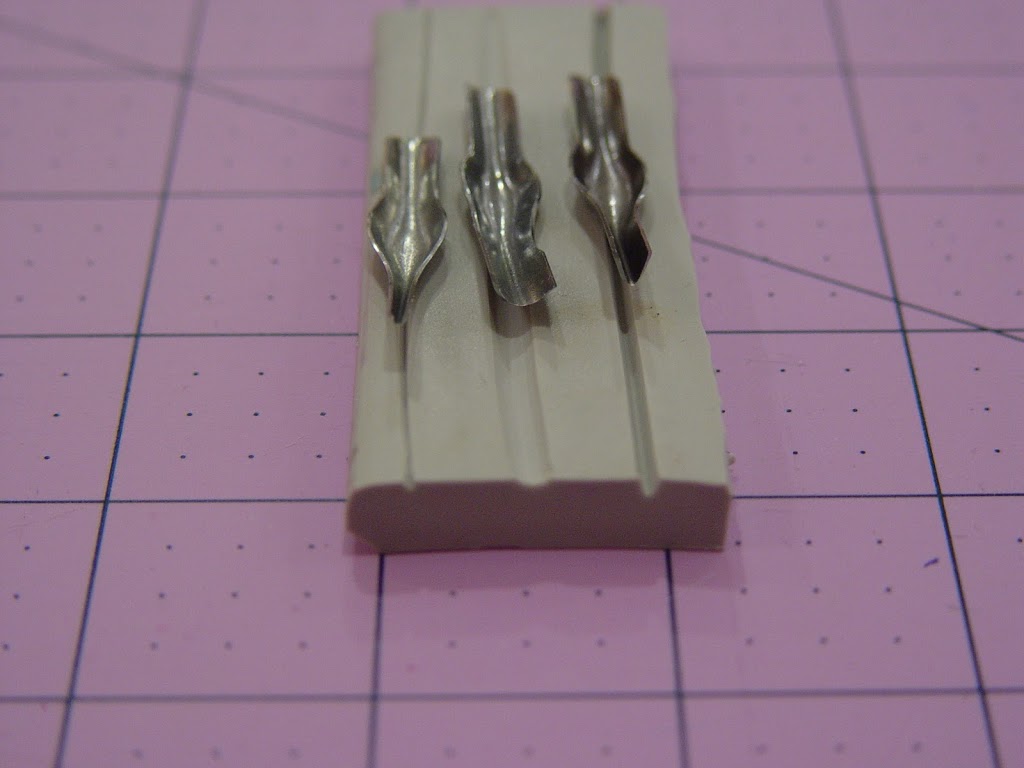
Before we start, let’s take a look at the linoleum carving tips. I have a #1, #2, and #5 tip. The #1 tip (shown on the right) is used for outlining your image. Tip #5 is in the middle. It yields a wider cut. On the left is tip #2, which gives a deep, but still narrow cut.
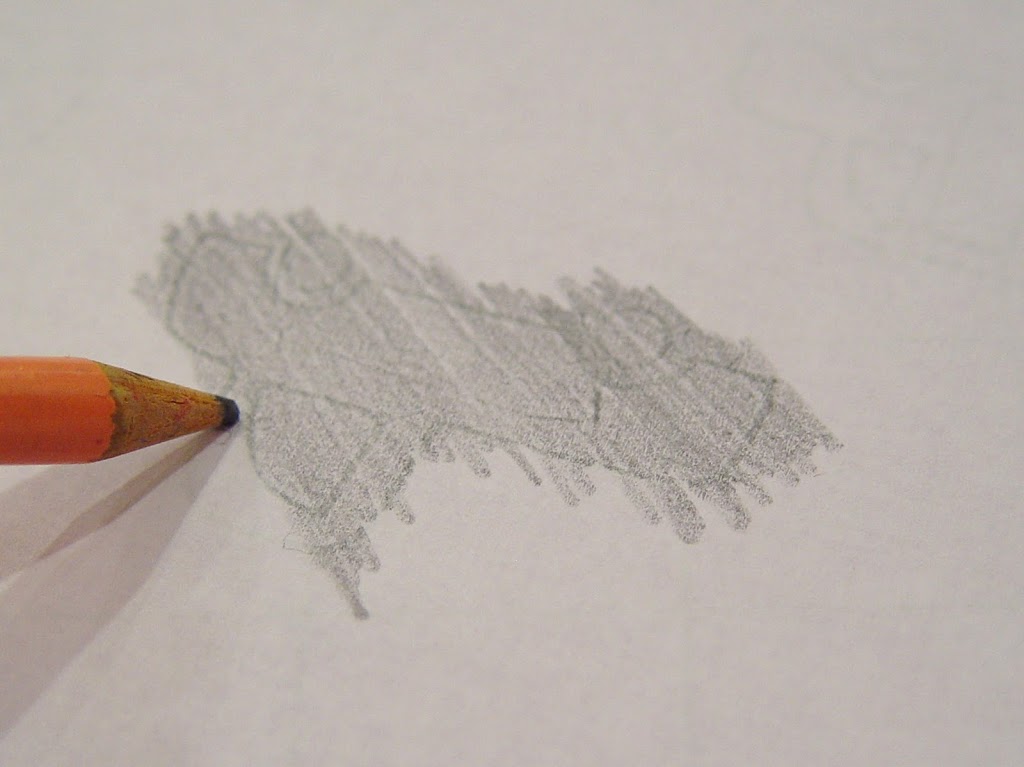
Start by printing out your image that you’ll use to make stamps. You can use anything or draw something by hand. Take a pencil and shade in the back of your image.
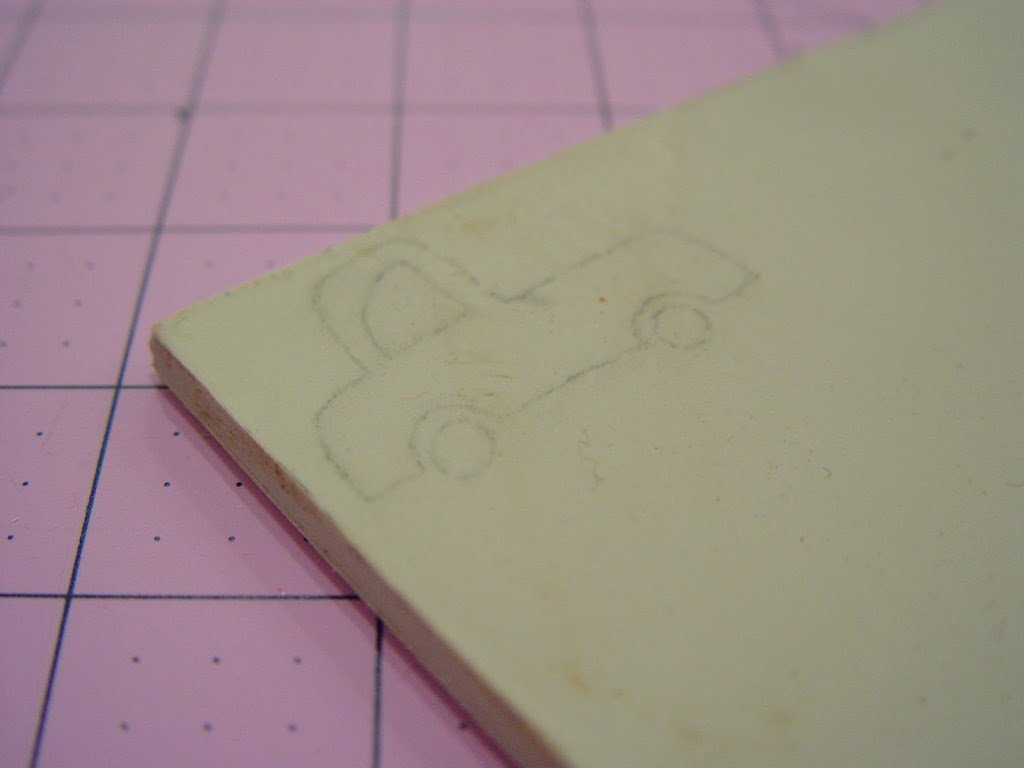
Turn it over and place your image on your carving block and trace the image with a ball point pen.
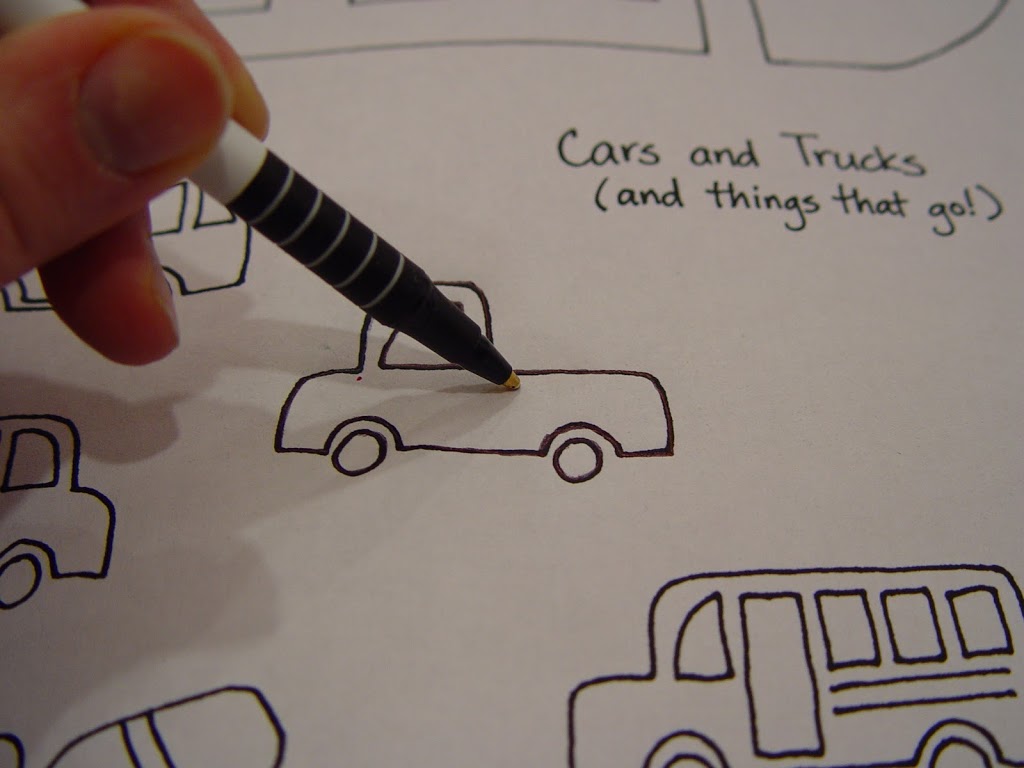
You should end up with your image in light pencil on your carving block.
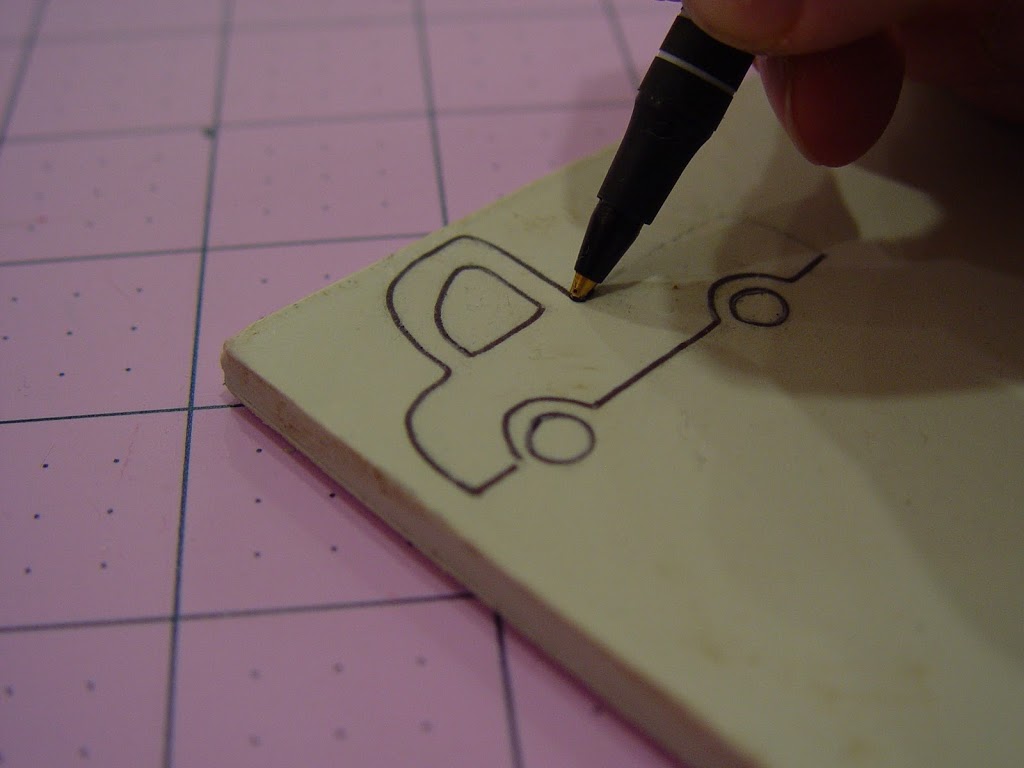
If you like, you can darken your image with a ball point pen.
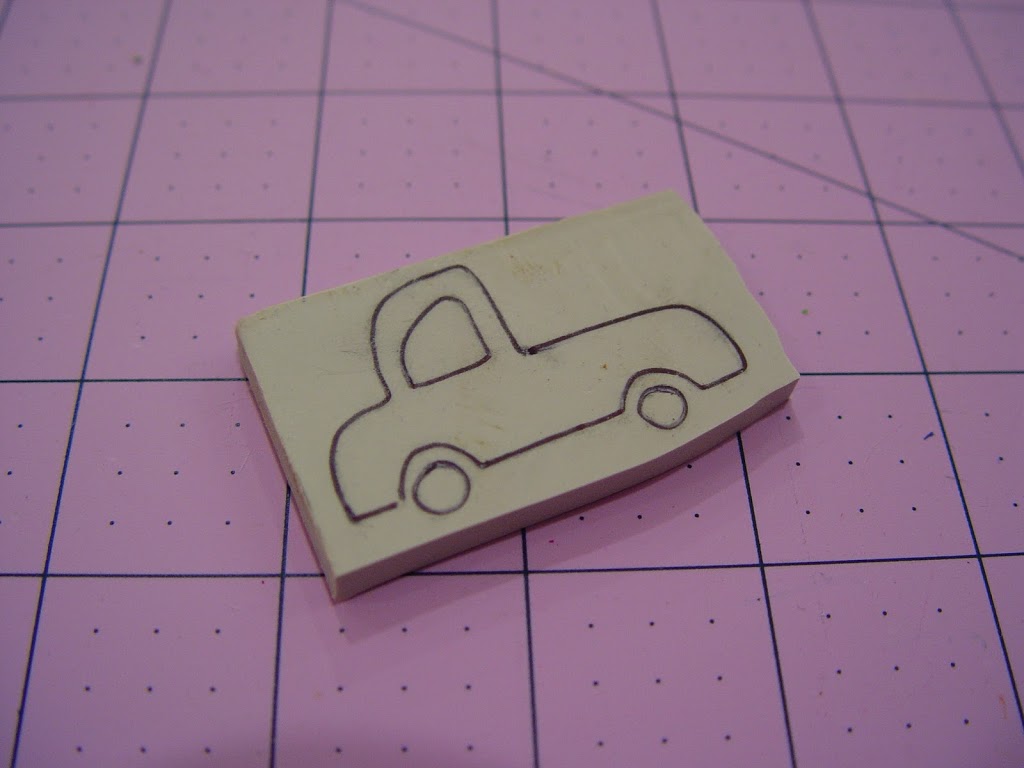
Using an X-Acto knife or utility knife cut out the stamp, to make your work surface a little smaller.

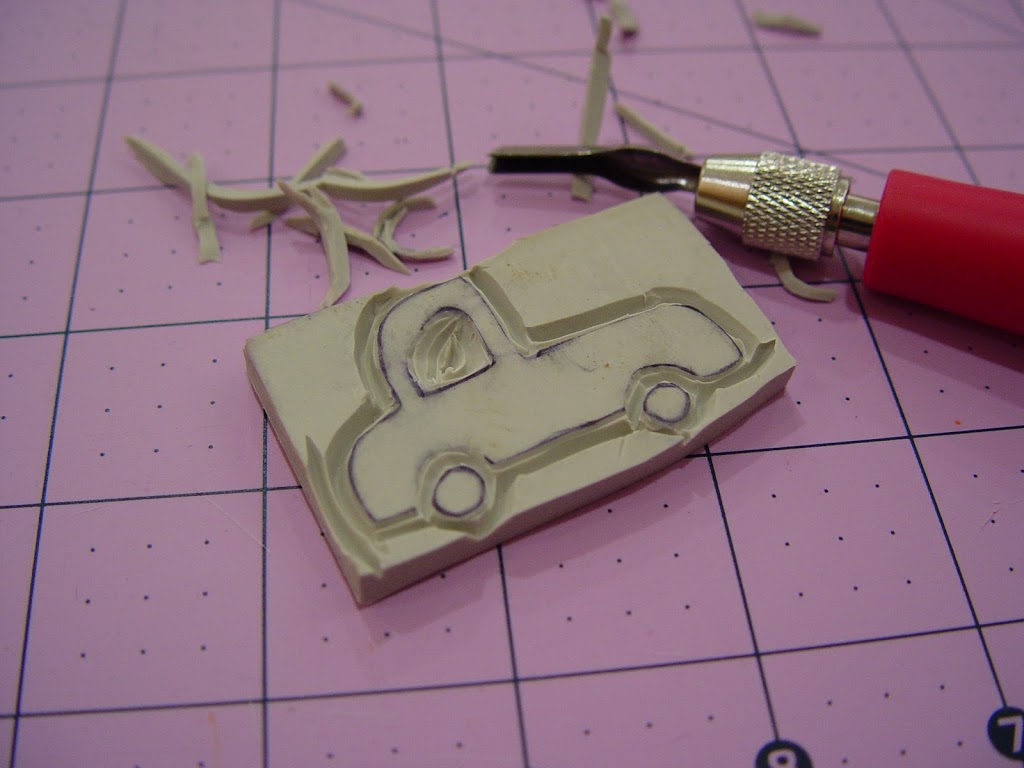
Take your linoleum cutter and using a #1 tip, start to carve away along the outline of your image.

Keep going until you’ve outlined the entire image including any details.
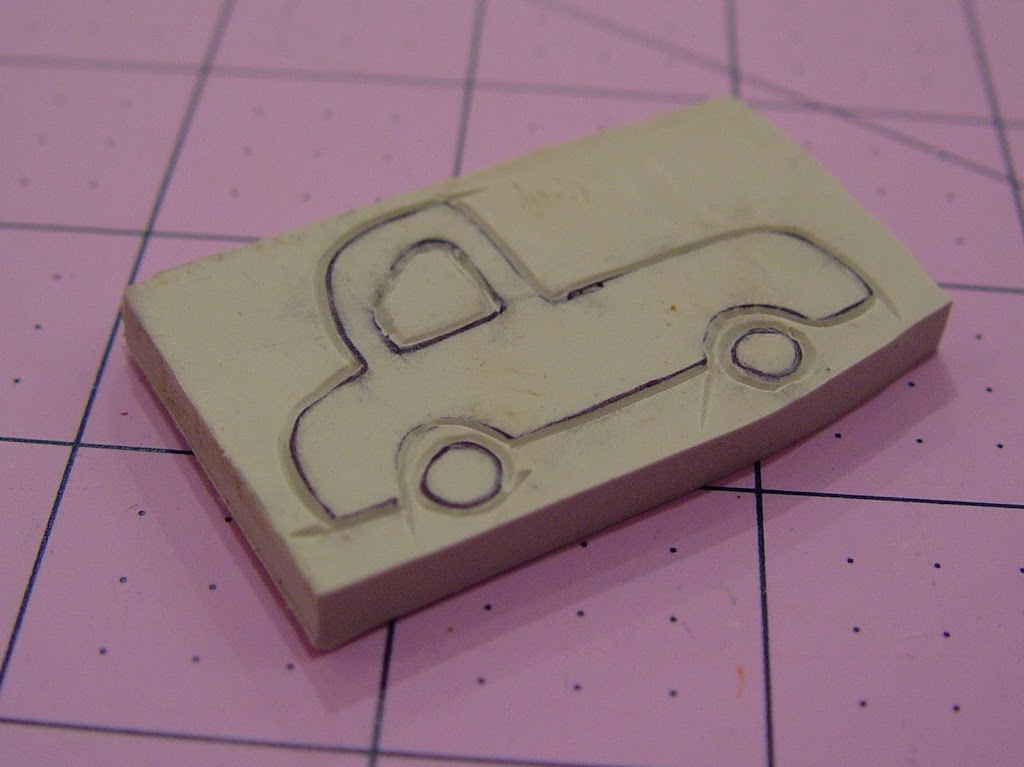
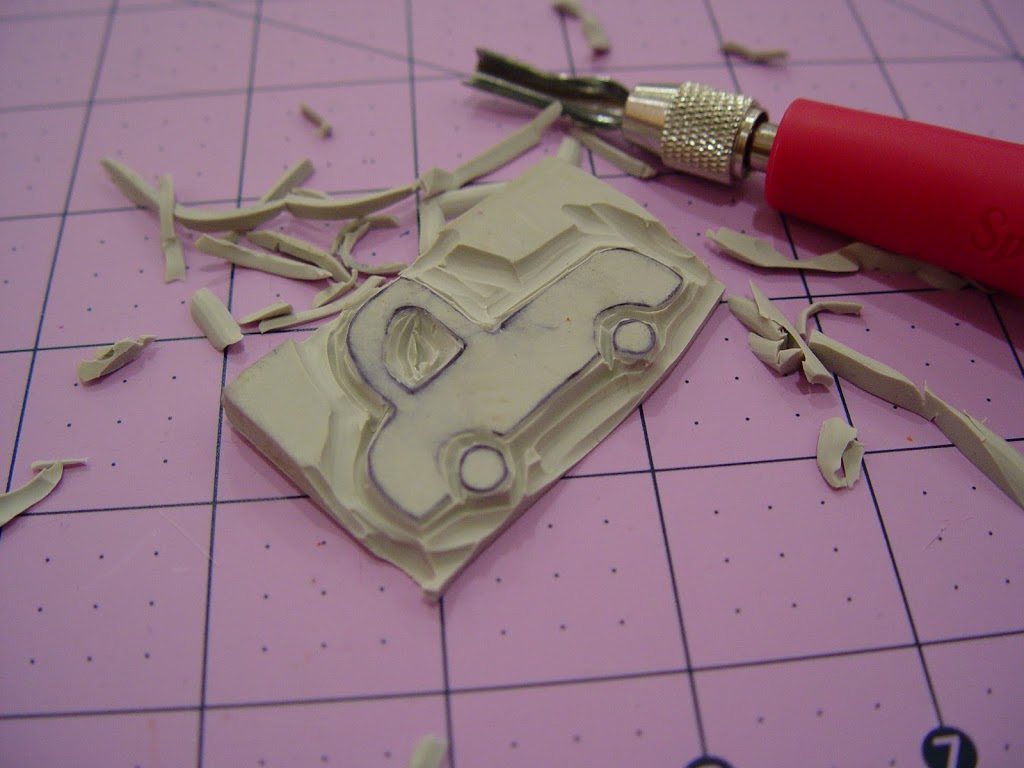
Switch to a tip that gives a little deeper cut (like a #2 tip) and cut away more around your outline of your image.
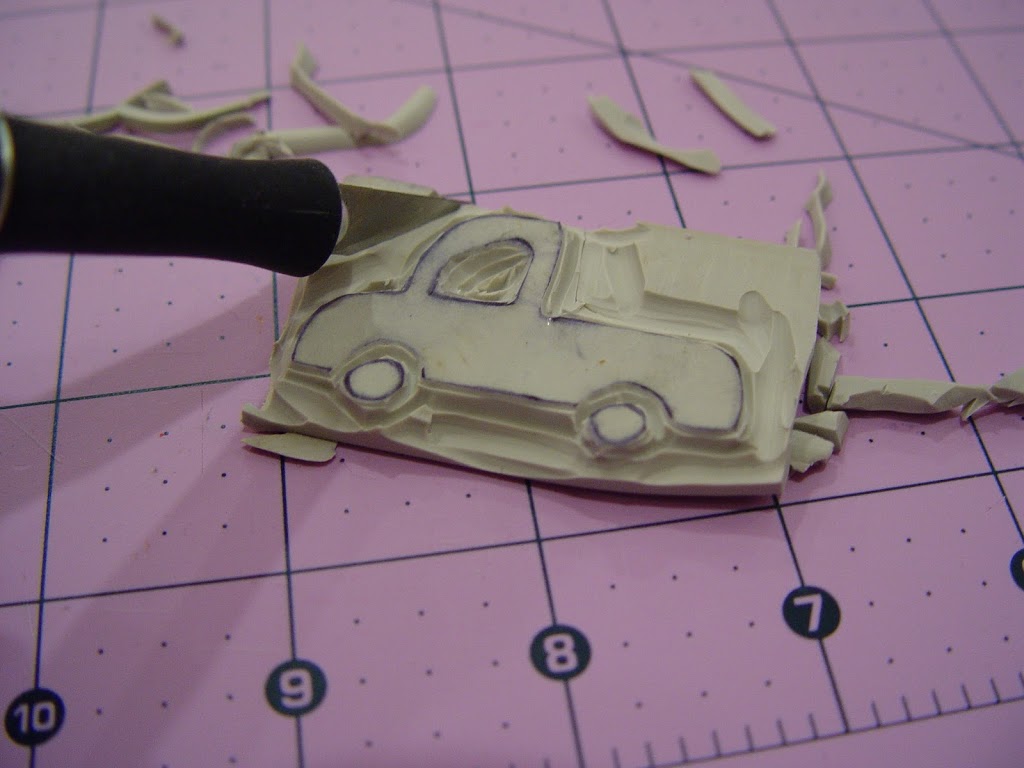
Continue cutting away more with a wider tip (like a #5 tip).
Finally cut away some of the excess block from around your stamp with your X-Acto knife.
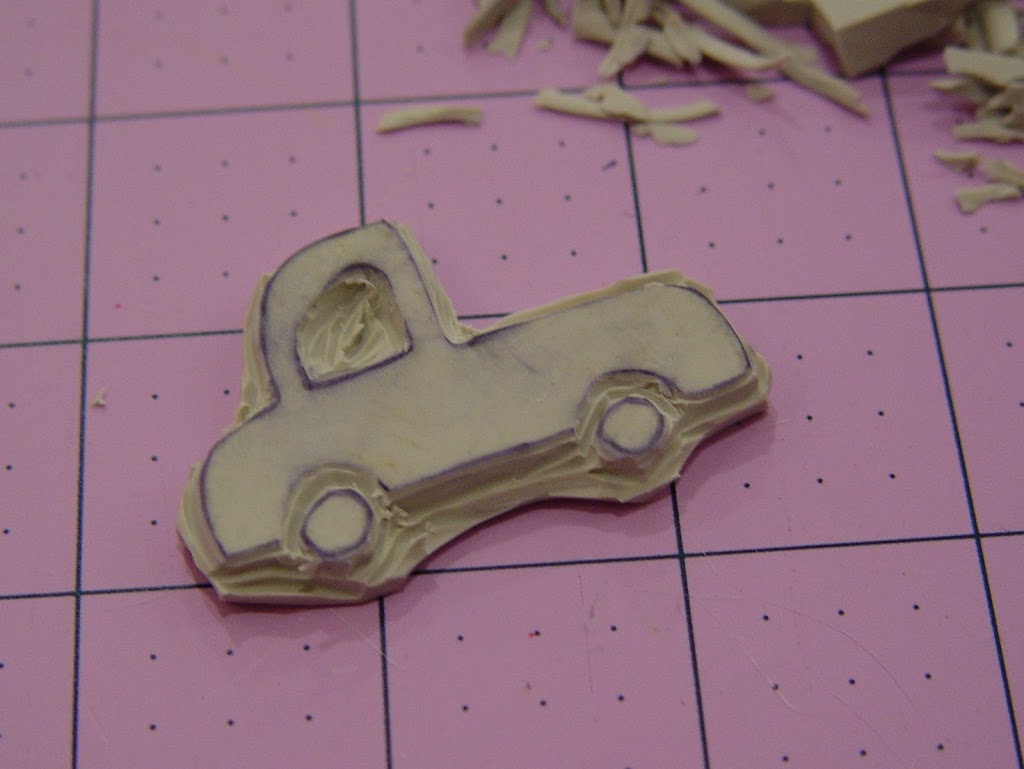
Test out your stamp on paper. (You may need to go back and remove a bit more, depending on how this test stamp looks.)
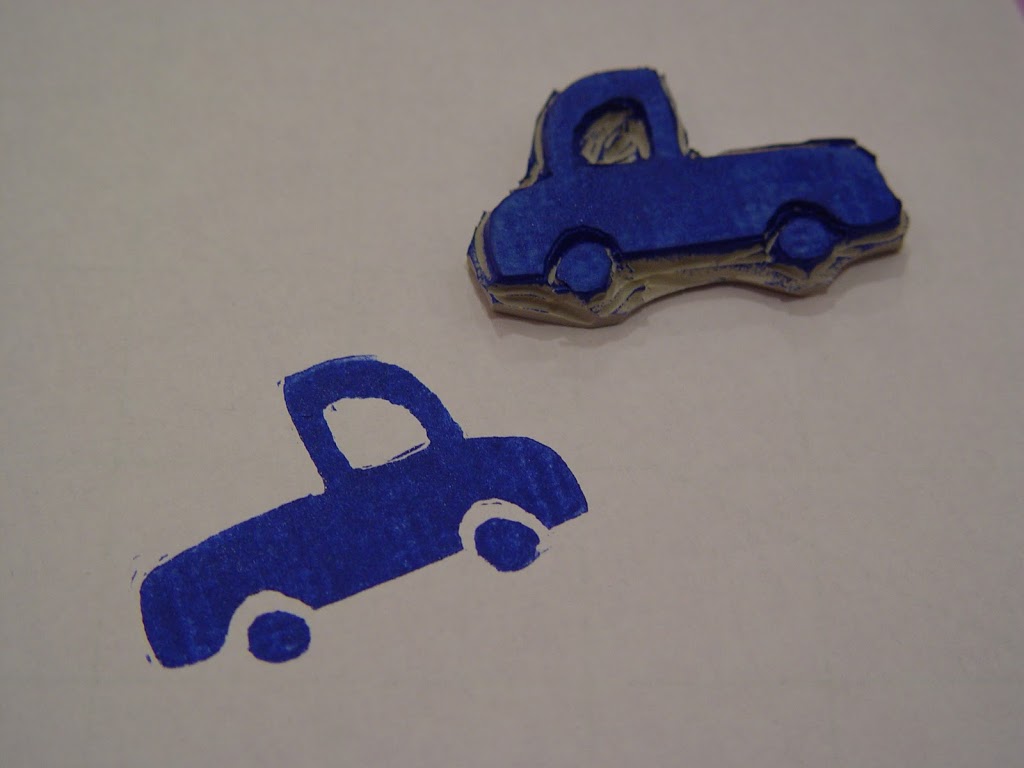
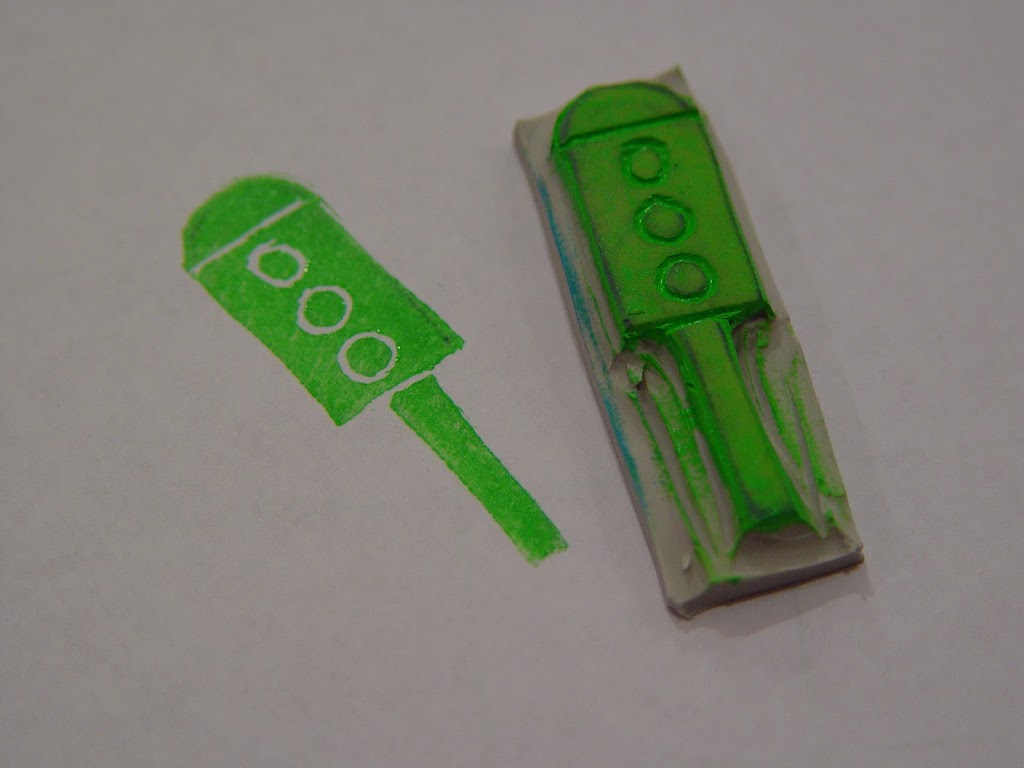
Continue for your other stamps.
Finally let your little artist have fun. (Make sure your ink pads are washable for your little ones!) Here’s what Connor did! I love it!
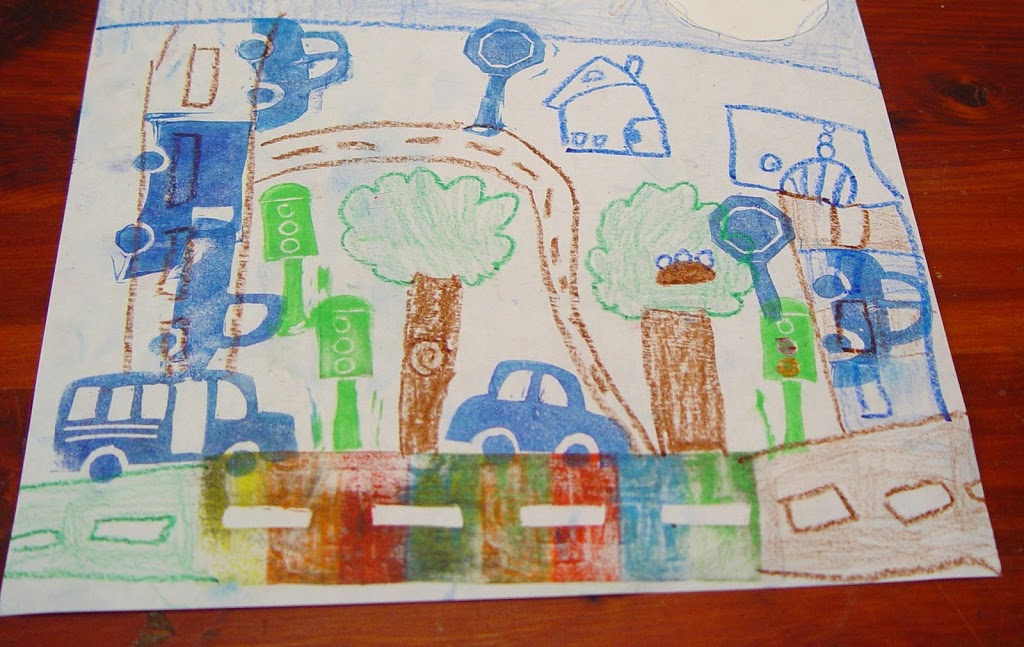
Happy stamping!

I am in love with this! I can’t wait to get my hands on the supplies. My son will go crazy!
Really, really cute! I don’t see a ton of boy craft ideas, so I love this – perfect for everyone! I love his final picture – it’s fantastic! Thanks for sharing!
love stamp carving! this is awesome!
Pam Going Postal
I love it! Thank your for your inspiration!
Wow, this is really cool, I would never have thought to use a carving block this way! Thanks for the inspiration.
This is a great project and I love the picture your son Conner made with the stamps. I am hosting a linky party and think this project would be great for it. I hope you’ll stop by my blog and link up.
Jennie
http://willowbeanstudio.blogspot.com/
Hi! I love your step by step tutorial for stamp carving! Was wondering though, how do you carve small details particularly small dots when using your speedball linolium cutter?