

I love embellishing little t-shirts for my kids. It’s great when they’re a light color and easy to add to it with a little freezer paper and paint. But sometimes you want to add a little something to a dark shirt. So here’s how I do it!
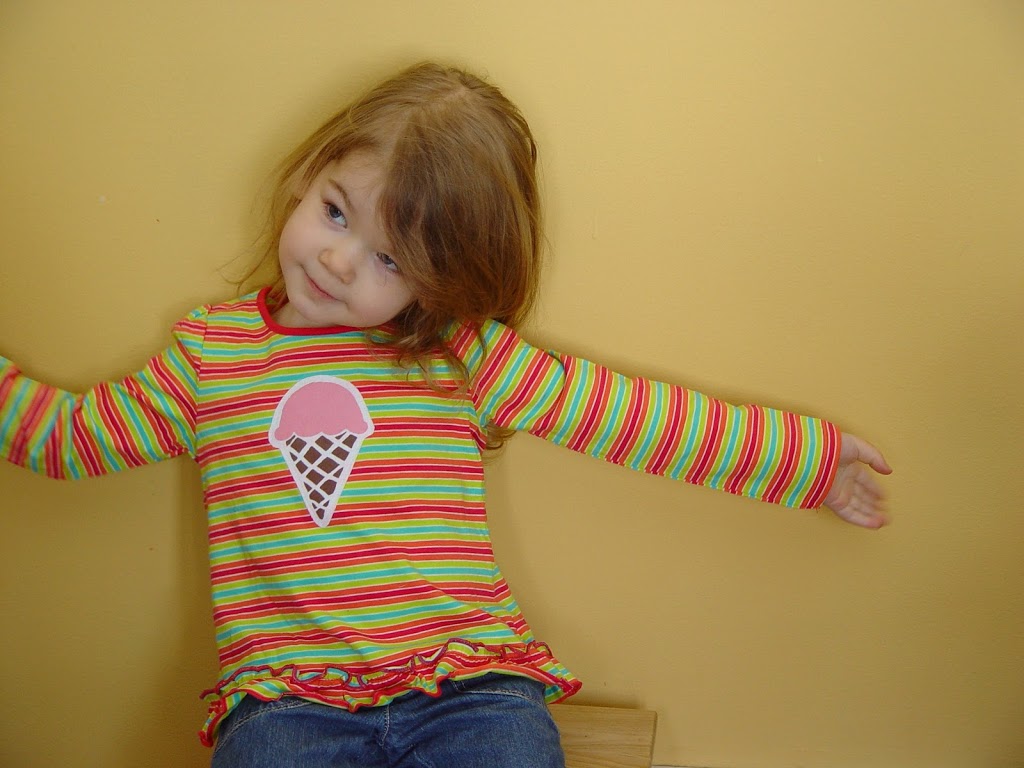
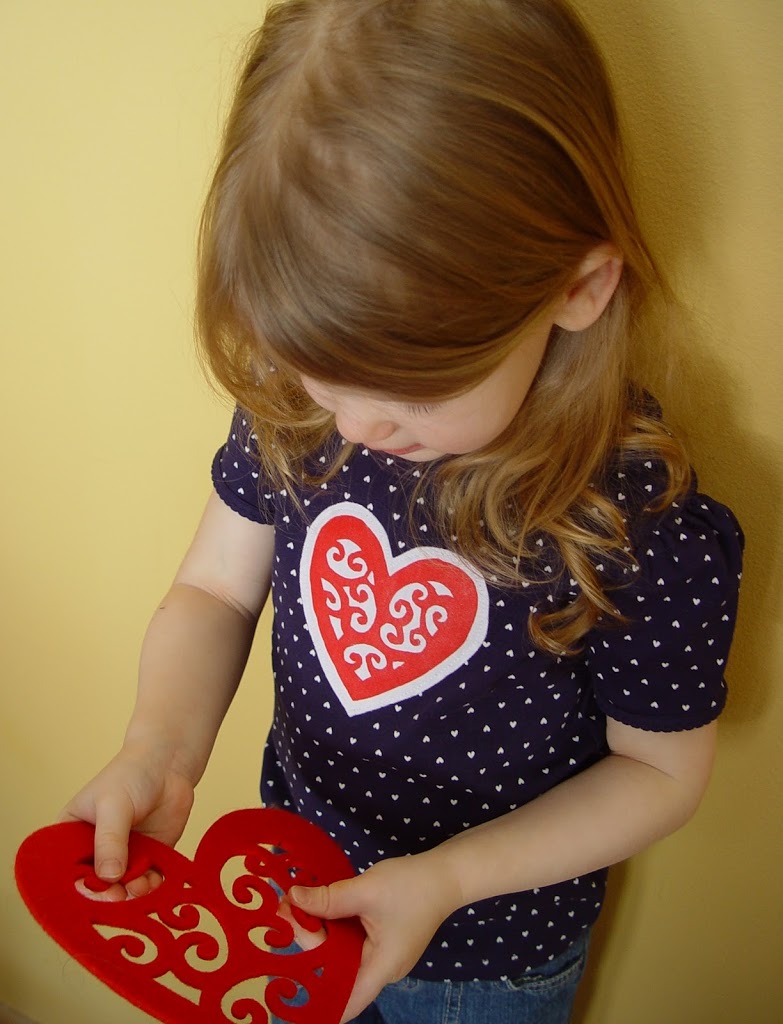
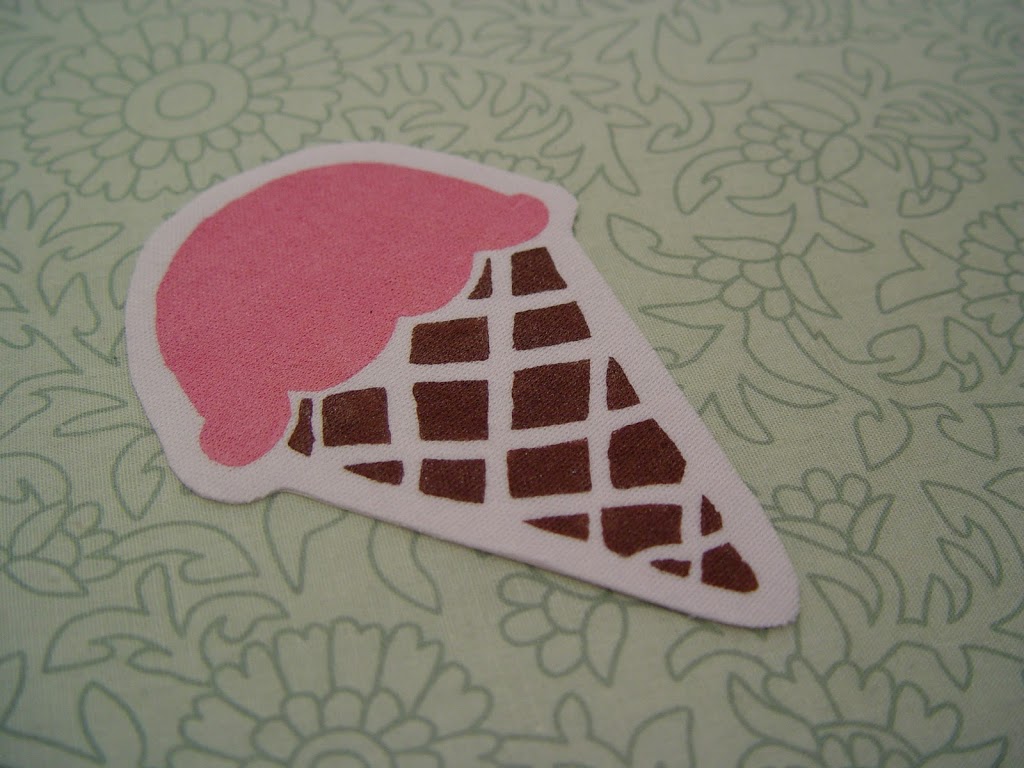
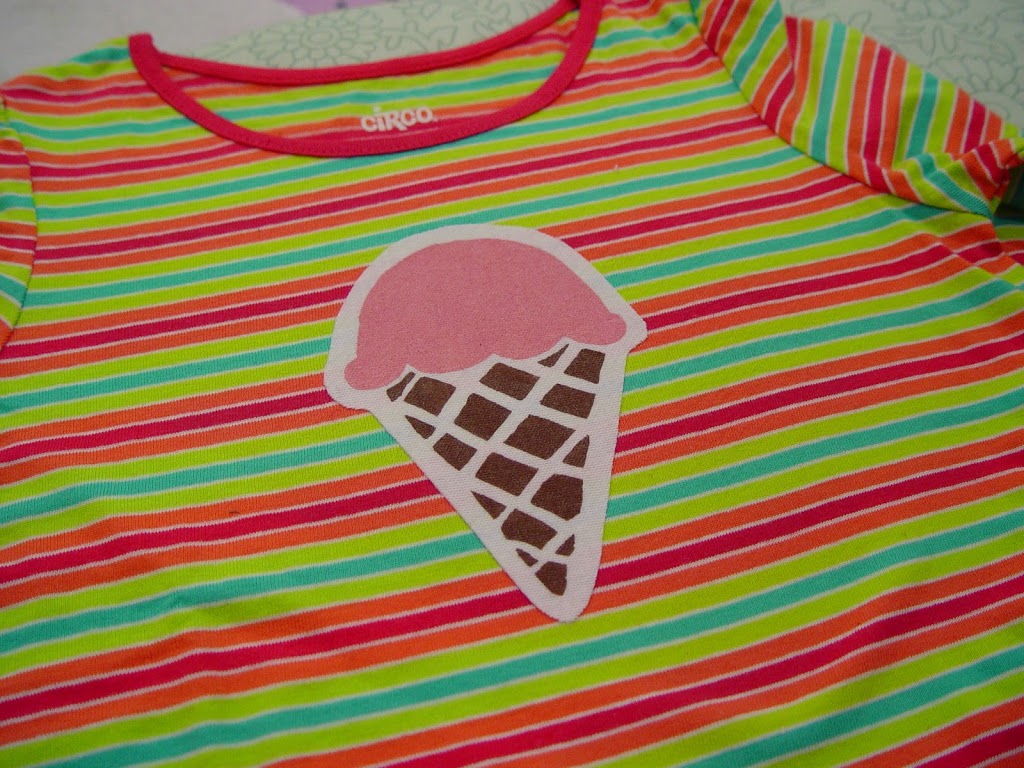
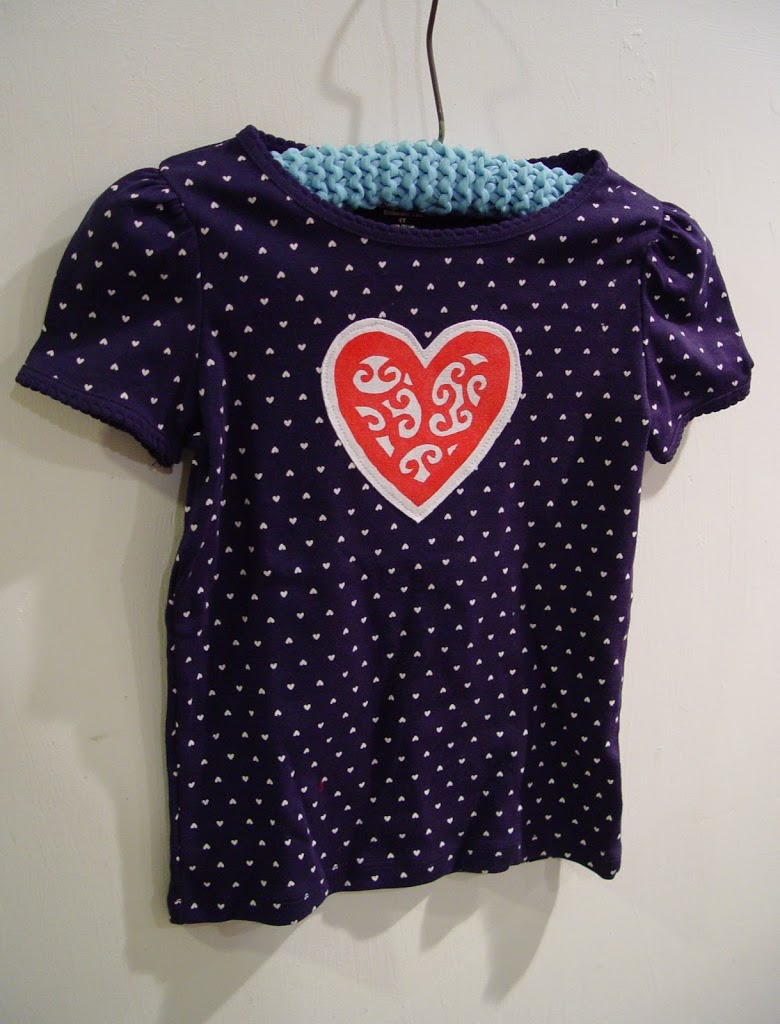
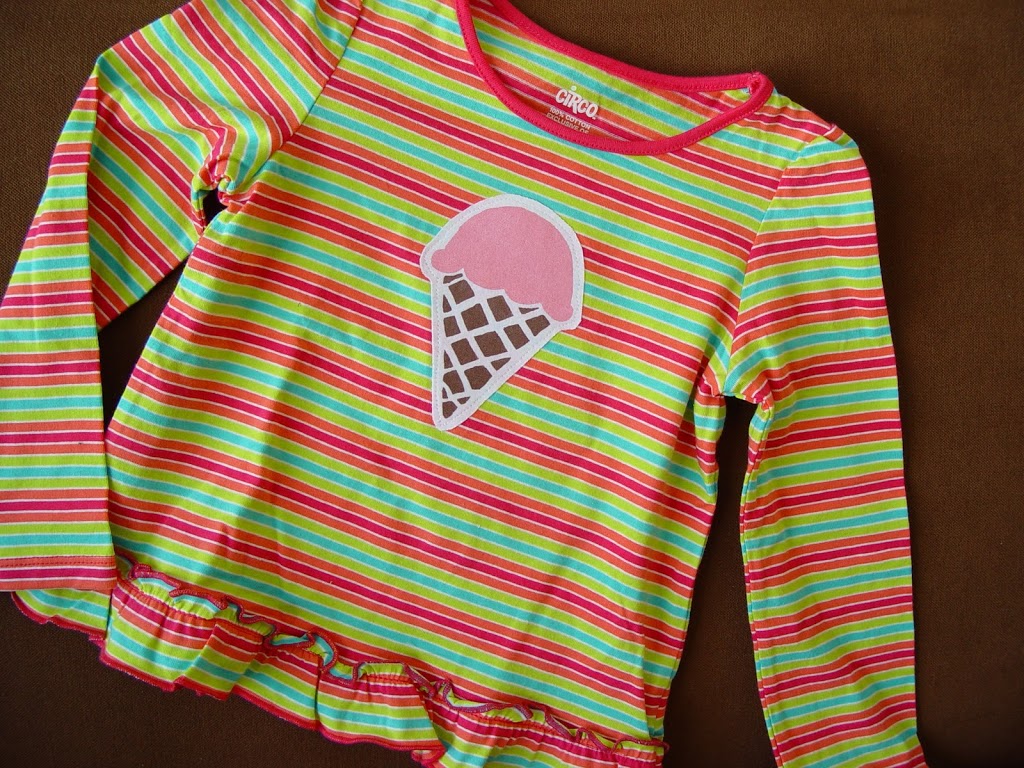
You’ll need a t-shirt (I picked up mine at Target for $5), a scrap of white knit fabric, a small piece of Heat n Bond, fabric paint, freezer paper, an iron, a sewing machine (or needle and thread). For these shirts I used my valentine’s heart and ice cream cone designs.
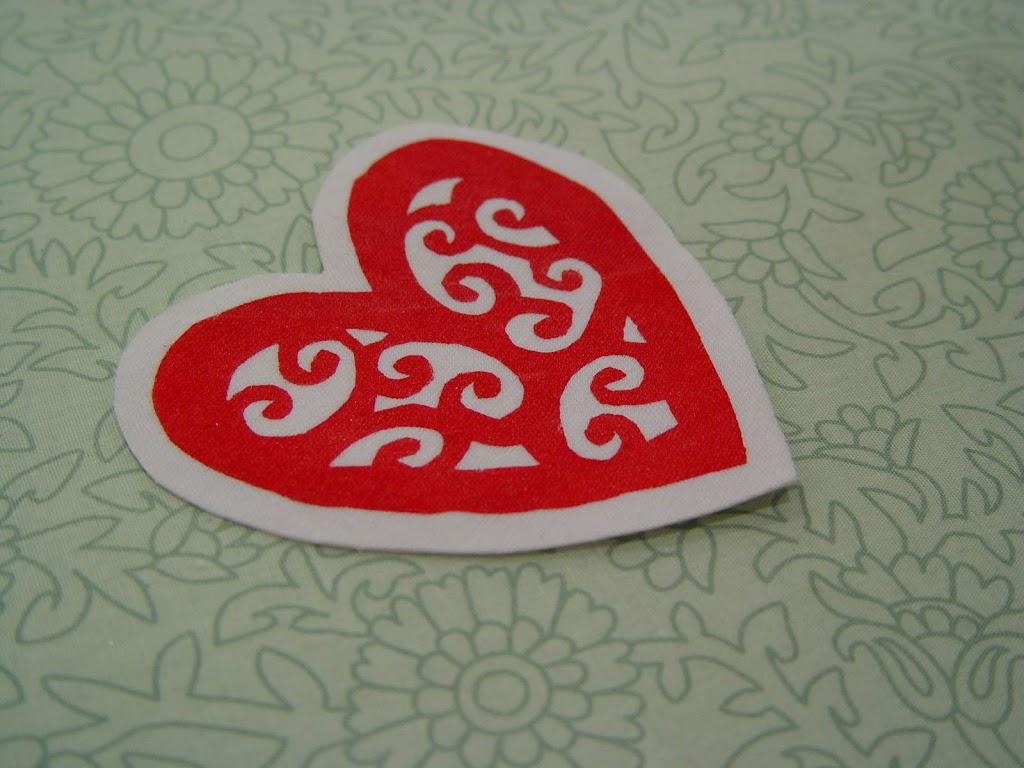
My valentine was inspired by a little felt heart I found at Jo-Ann’s.
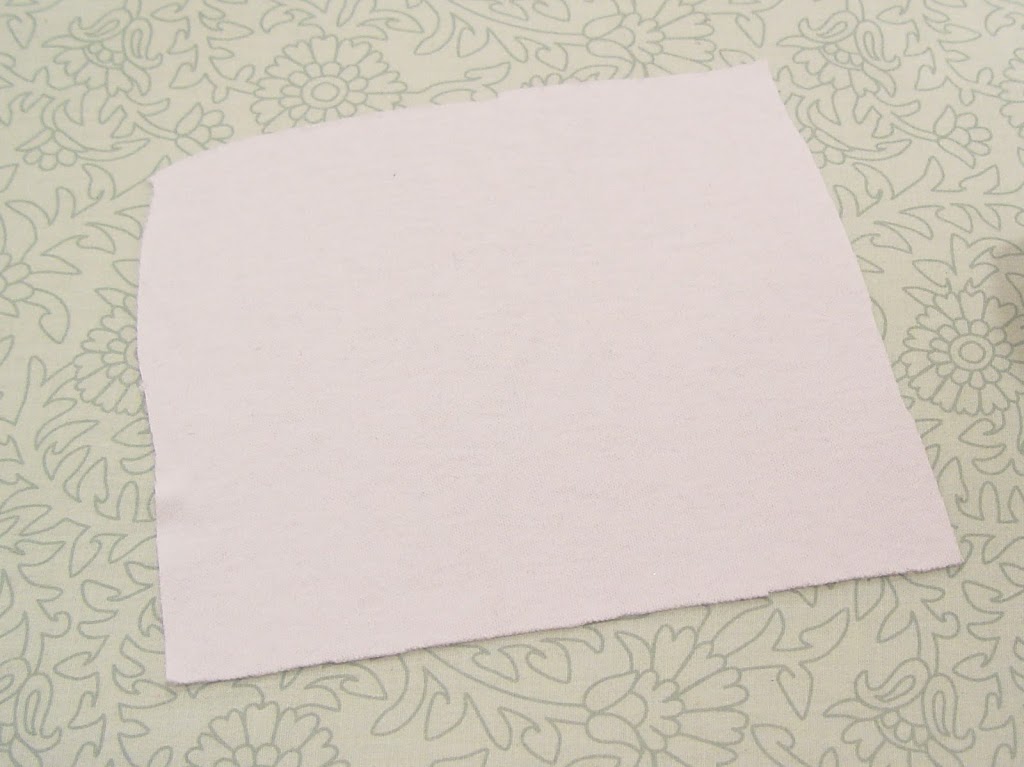
Start with a small piece of knit cloth in white
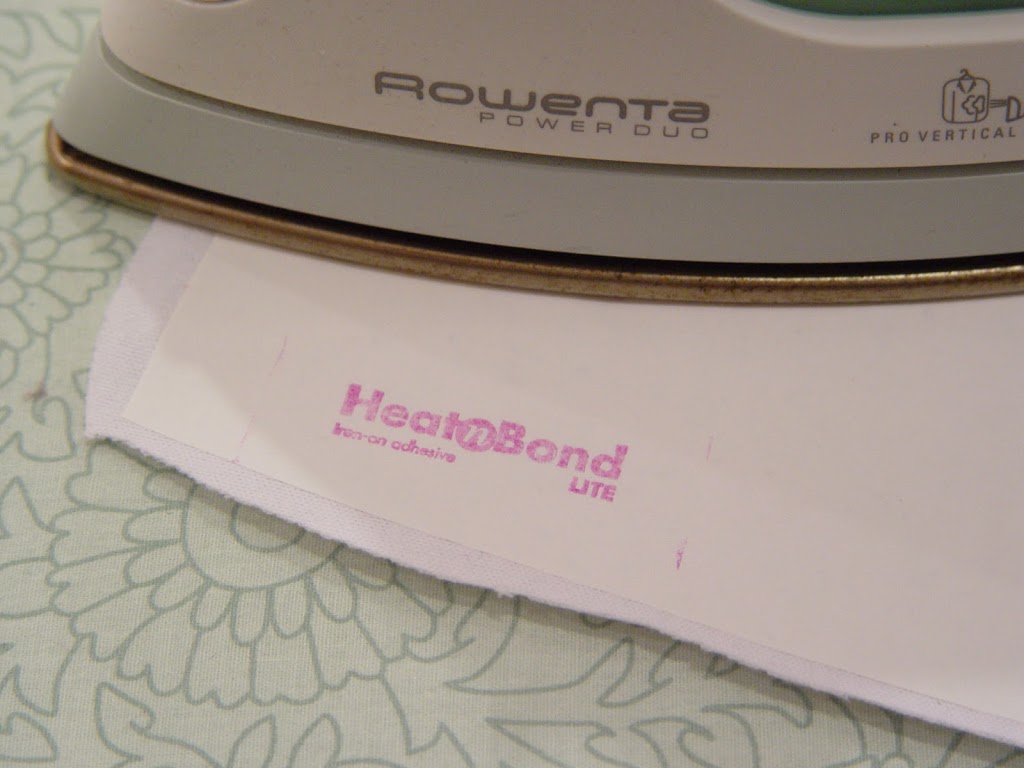
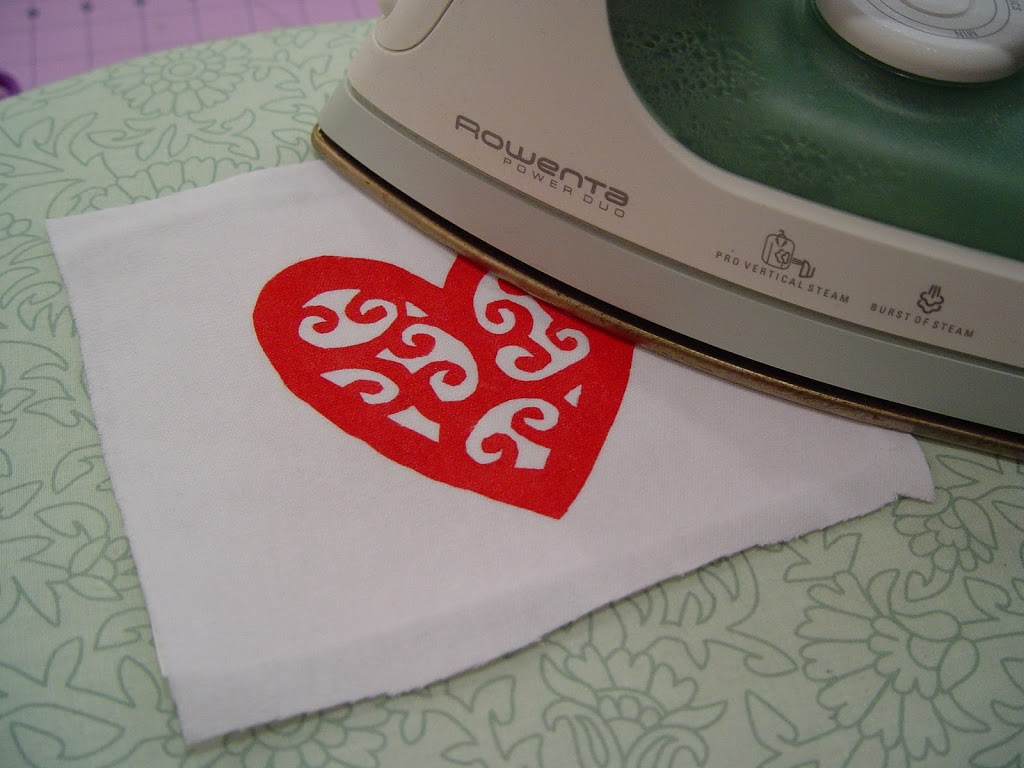
Iron on the back a piece of Heat n Bond (an iron on adhesive with a paper backing).
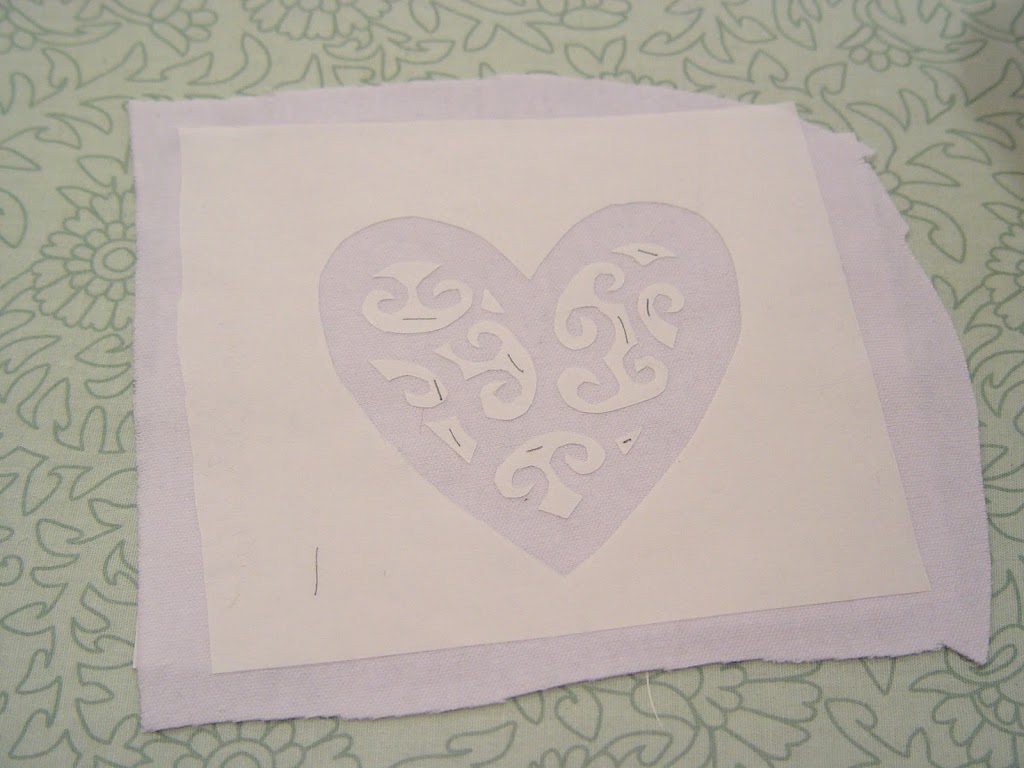
Turn it over and add your freezer paper (already cut out to your desired design). See how to do that (and more) here. I sometimes add little pencil marks to the paper side of the freezer paper to the small pieces so I don’t accidentally iron them onto the iron instead of the fabric.
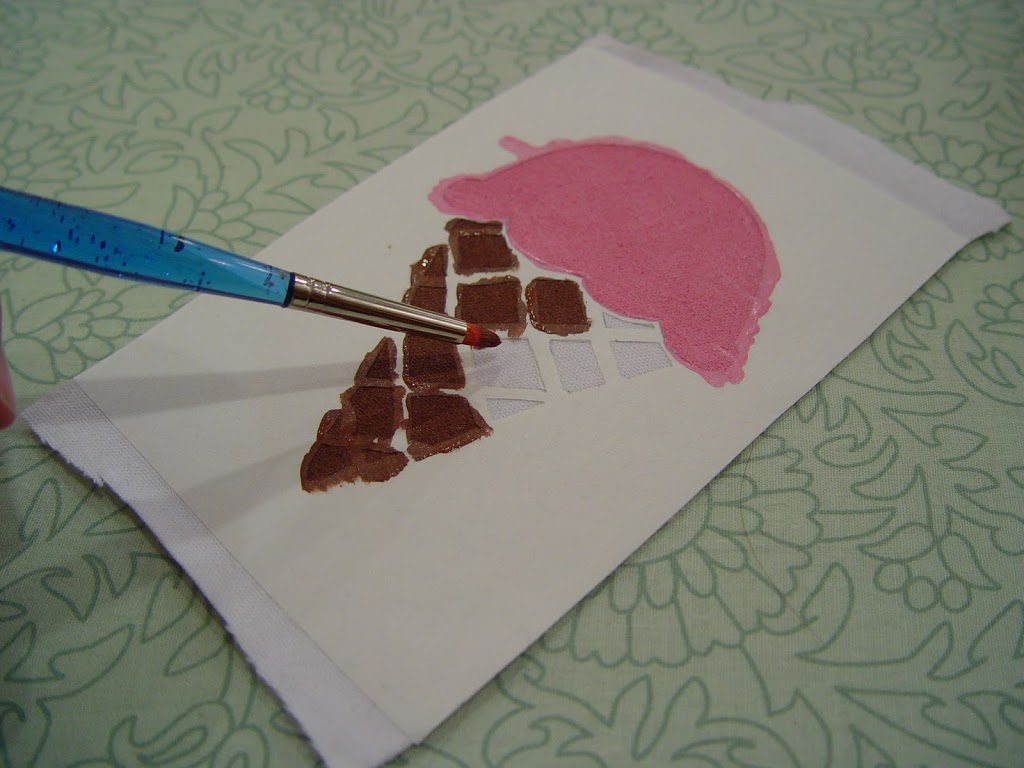
Apply your paint.
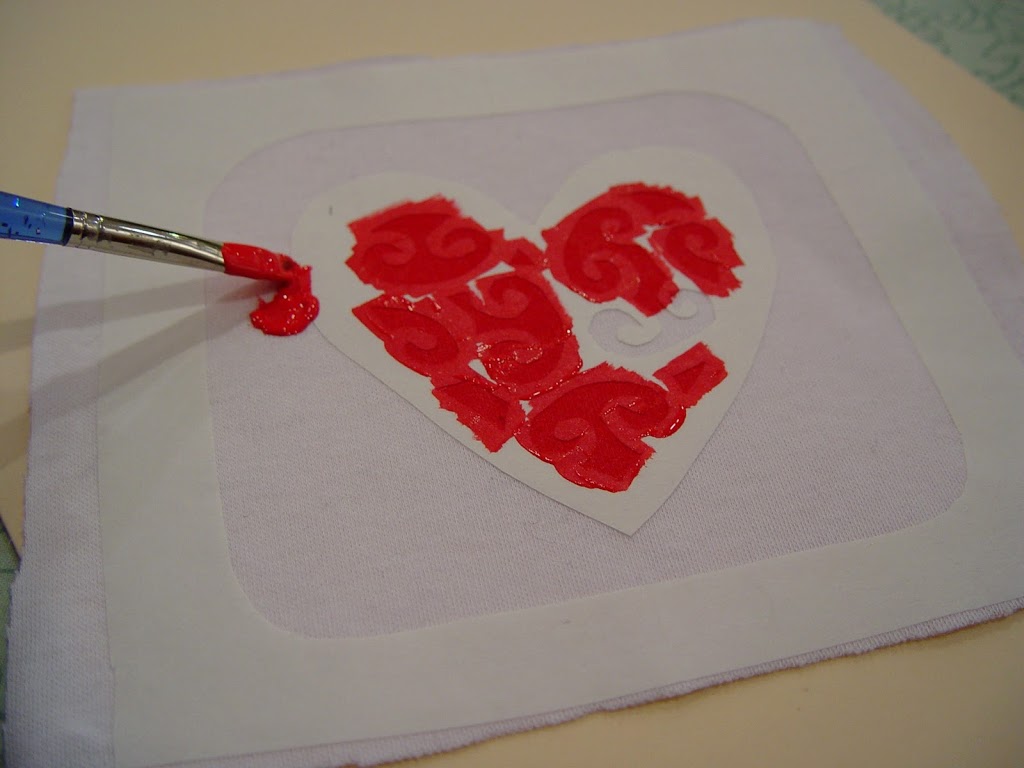
You can easily do two colors too.
Once dry, heat set the image.
Trim off any excess material from around your applique.
Remove the paper backing, leaving the iron-on adhesive exposed.
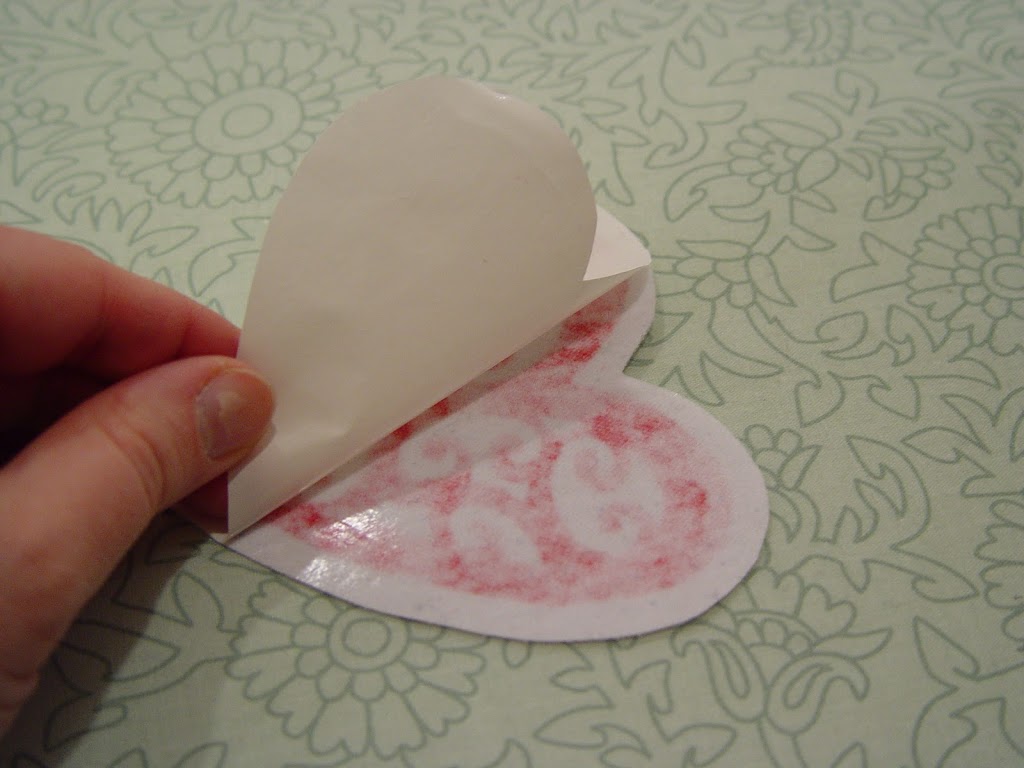
Place the iorn-on applique on your shirt and iron in place.
Sew a quick line around the applique to ensure it will stay put.

And you’re done!

Just a quick note to let you know that a link to this post will be placed on CraftCrave today [11 Feb 12:00am GMT]. Thanks, Maria
I just heart freezer paper. Good for SO many things 🙂
This is great! Thanks for the tutorial!